Ingredients
2 ½ cups All-purpose flour
1 ¾ cups Granulated sugar
1 ½ teaspoons Baking powder
½ teaspoon Baking soda
½ teaspoon Salt
½ cup Unsalted butter
3 Large eggs
2 teaspoons Vanilla extract
1 cup Buttermilk
1 cup Unsalted butter
4 cups Powdered sugar
¼ cup Milk
1 ½ teaspoons Vanilla extract
Pinch Salt
Instructions
- Prepare Your Pans: First, preheat your oven to 350°F (175°C). Grease and flour two 8-inch round cake pans. You can also line the bottoms with parchment paper for easy removal
- Combine Dry Ingredients: In a large bowl, whisk together the sifted all-purpose flour, granulated sugar, baking powder, baking soda, and salt. Make sure everything is well combined
- Cream Butter and Eggs: In a separate large bowl, using an electric mixer, cream the softened unsalted butter until light and fluffy. Next, add the eggs one at a time, beating well after each addition. Scrape down the sides of the bowl often. Stir in the vanilla extract
- Alternate Wet and Dry: Gradually add the dry ingredients to the wet ingredients, alternating with the buttermilk. Start and end with the dry ingredients. For example, add about one-third of the dry mixture, then half the buttermilk, then another third of the dry, the remaining buttermilk, and finally the last of the dry. Mix just until combined; do not overmix, as this develops gluten and can make your Vintage Birthday Cakes tough
- Fill and Bake: Divide the batter evenly between your two prepared cake pans. Smooth the tops with a spatula. Bake for 30-35 minutes, or until a wooden skewer inserted into the center comes out clea
- Cool Completely: Once baked, remove the cakes from the oven and let them cool in their pans for about 10-15 minutes. Then, carefully invert them onto a wire rack to cool completely. This is vital! Do not frost warm Vintage Birthday Cakes, or your frosting will melt
- Make the Buttercream Frosting: While the cakes cool, prepare your frosting. In a large bowl, beat the softened butter with an electric mixer until creamy. Gradually add the sifted powdered sugar, alternating with the milk and vanilla extract, until smooth and fluffy. Add a pinch of salt if desired to balance the sweetness. If the frosting is too thick, add a tiny bit more milk; if too thin, add more powdered sugar
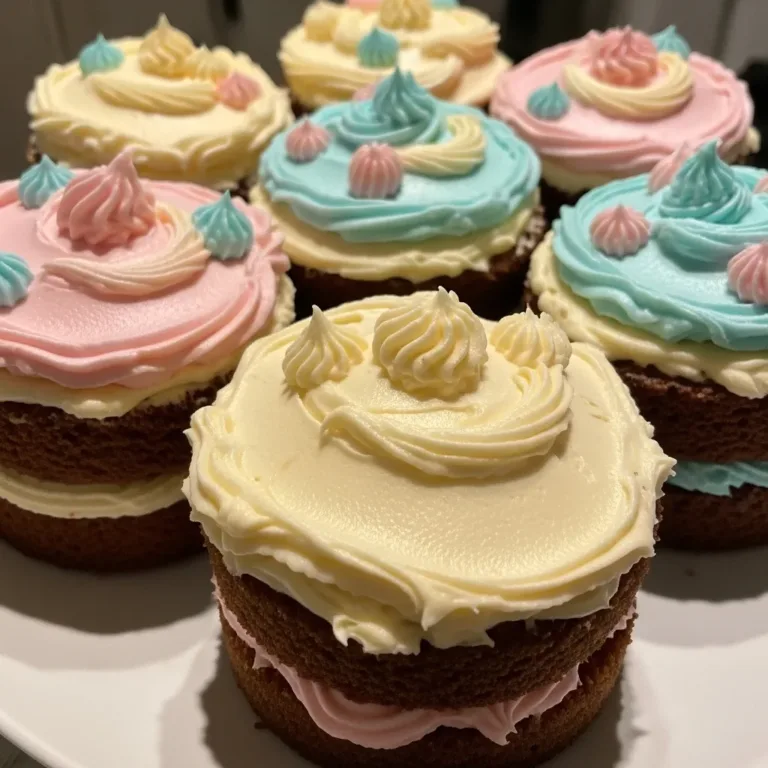
- Assemble and Frost: Once the cake layers are entirely cool, place one layer on your serving plate. Spread a generous amount of buttercream over the top. Carefully place the second cake layer on top. Frost the top and sides of your Vintage Birthday Cakes evenly. Decorate as desired! Simple swirls with an offset spatula often look the most authentic for these retro birthday cakes
Notes
Room Temperature Ingredients are Key: Always bring your butter, eggs, and buttermilk to room temperature before you start. Room temperature ingredients emulsify better, creating a smoother, more uniform batter and a lighter, fluffier cake.
Measure Flour Correctly: Spoon your flour into the measuring cup and then level it off with a straight edge. Do not scoop directly from the bag, as this compacts the flour and can result in too much flour, leading to a dry cake.
Do Not Overmix: Once you add the dry ingredients to the wet, mix just until combined. Overmixing develops gluten, which can make your Vintage Birthday Cakes tough and dense. A few small lumps are perfectly fine.
Grease and Flour Meticulously: Take your time greasing and flouring your cake pans. I often use a thin layer of butter followed by a dusting of flour, then tap out any excess. For extra insurance, line the bottoms with parchment paper.
Cool Completely: This cannot be stressed enough! Attempting to frost warm cakes will result in a melted, runny mess. Allow your cake layers to cool completely on a wire rack, which can take several hours, before applying any frosting.
Sift Your Powdered Sugar: For the smoothest, lump-free buttercream, sift your powdered sugar before adding it to the butter. This simple step ensures your frosting is wonderfully silky.
Simple Decorating: Embrace the charm of Vintage Birthday Cakes with simple decoration. A smooth, even coat of frosting, perhaps with a few piped borders or some colorful sprinkles, is all you need.
Room Temperature Storage: If your cake has a buttercream frosting made with butter, it can safely stay at room temperature for up to 2-3 days, provided your kitchen is cool (below 70°F/21°C). Always store it in an airtight cake dome or container to prevent it from drying out.
Refrigerator Storage: For longer storage, or if your kitchen is warm, refrigerate your Vintage Birthday Cakes. Cover the cake loosely with plastic wrap or place it in an airtight container. It will last for up to 5-7 days in the fridge.
Bringing to Room Temperature: If refrigerated, always allow your Vintage Birthday Cakes to sit at room temperature for at least an hour before serving. This softens the frosting and cake, bringing out the best flavor and texture.
Freezing Whole Cake: You can freeze an unfrosted cake. Wrap each cooled cake layer tightly in plastic wrap, then again in aluminum foil. It will last for up to 2-3 months. Thaw in the refrigerator overnight before frosting.
Freezing Slices: For individual servings, freeze slices of frosted cake. Place slices on a baking sheet to freeze solid, then wrap each slice tightly in plastic wrap and aluminum foil. Freeze for up to 1 month. Thaw at room temperature for about an hour before enjoying.
- Prep Time: 40 mins
- Cook Time: 35 mins
- Category: Dessert
- Method: Baking
- Cuisine: American
Nutrition
- Serving Size: 1 serving
- Calories: 480 kcal
- Sugar: 48g
- Sodium: 310mg
- Fat: 21g
- Saturated Fat: 13g
- Carbohydrates: 68g
- Fiber: 1g
- Protein: 5g
- Cholesterol: 95mg