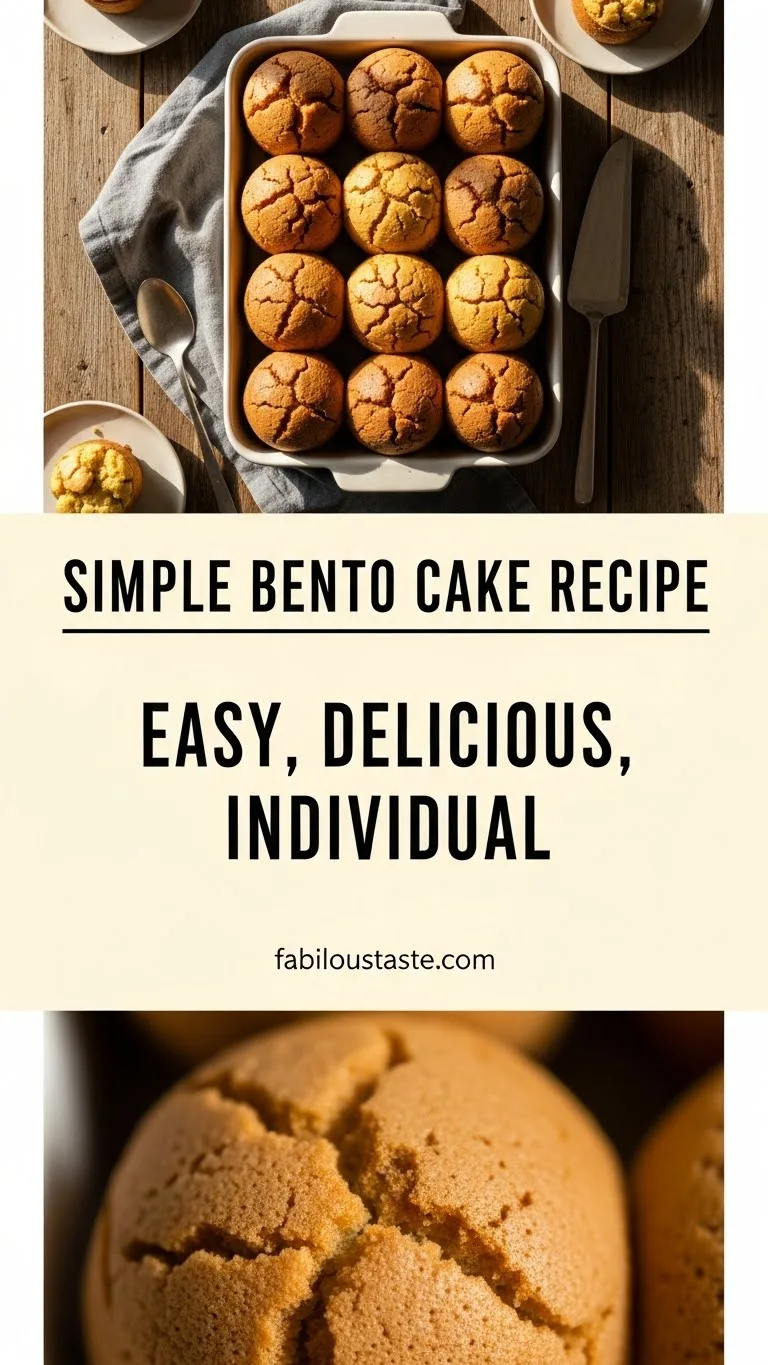
Vintage Birthday Cakes
My grandma, bless her heart, had this magic touch in the kitchen. Every year, for every birthday, she’d pull out her worn, flour-dusted recipe card, a family heirloom passed down through generations. The aroma of vanilla and butter would fill her cozy kitchen, signaling that something truly special was baking.
Those weren’t just cakes; they were memories, frosted with love and topped with simple candles. As a mom of three myself, I now understand that feeling, the desire to create those same cherished moments for my own children. That’s why I adore this recipe for Vintage Birthday Cakes.
It’s more than just a dessert; it’s a connection to the past, a simple way to say “I love you” with every forkful. These Vintage Birthday Cakes aren’t fussy or overly complicated; they are pure, wholesome deliciousness, just like the ones my grandma used to make, reminding us that sometimes, the simplest things are the most profound. They bring back that incredible feeling of nostalgia and pure joy.
Why You’ll Love This Recipe for Vintage Birthday Cakes
You will absolutely adore making these Vintage Birthday Cakes for so many reasons. First, this recipe is incredibly straightforward. You don’t need fancy equipment or advanced baking skills to achieve a perfect, tender crumb and a delicious, creamy frosting.
It uses pantry staples, ingredients you likely already have on hand, which makes it a truly nourishing and accessible treat. For me, as a busy mom, simplicity is key, and this classic birthday cake recipe delivers without compromise on flavor. Moreover, these Vintage Birthday Cakes offer that coveted taste of nostalgia.
They transport you back to childhood parties, to family gatherings where the cake was the star of the show.
The gentle sweetness and the rich, buttery flavor of this old-fashioned birthday cake evoke warmth and comfort, embodying the true spirit of “food is love.” Finally, it’s a truly versatile recipe. You can easily adapt it to suit different preferences or occasions, but in its purest form, it stands out as one of the best nostalgic birthday cake recipes you will ever make.
It’s a true crowd-pleaser, perfect for celebrating life’s big and small moments. You will create incredible memories with these Vintage Birthday Cakes.
Ingredients You’ll Need
Making these beloved Vintage Birthday Cakes requires simple, wholesome ingredients. Every component plays a vital role in creating that perfect, tender texture and classic flavor.

For the Cake
| Ingrédient | Quantité | Remarques |
|---|---|---|
| Farine tout usage | 2 ½ tasses | Tamisée, pour une texture légère |
| Sucre en poudre | 1 ¾ tasses | Apporte douceur et moelleux |
| Levure chimique | 1 ½ cuillères à café | Agent levant pour une bonne levée |
| Bicarbonate de soude | ½ cuillère à café | Réagit avec le babeurre pour plus de tendreté |
| Sel | ½ cuillère à café | Rehausse toutes les saveurs |
| Beurre doux | ½ tasse (1 plaquette) | Ramolli, pour la richesse et la saveur |
| Œufs gros calibre | 3 | À température ambiante, lient les ingrédients |
| Extrait de vanille | 2 cuillères à café | Essentiel pour une saveur de gâteau classique |
| Babeurre (buttermilk) | 1 tasse | À température ambiante, pour le moelleux et une légère acidité |
For the Buttercream Frosting
| Ingrédient | Quantité | Remarques |
|---|---|---|
| Beurre doux | 1 tasse (2 plaquettes) | Ramolli, base du glaçage |
| Sucre glace | 4 tasses | Tamisé, pour un glaçage lisse sans grumeaux |
| Lait (entier ou demi-écrémé) | ¼ tasse | Apporte de l’onctuosité, à ajuster selon la texture |
| Extrait de vanille | 1 ½ cuillères à café | Sublime la saveur du gâteau |
| Pincée de sel | Facultatif | Équilibre la douceur |
Substitutions & Variations
One of the beautiful things about these Vintage Birthday Cakes is their adaptability. You can easily make a few tweaks without sacrificing that comforting, nostalgic flavor.
* Gluten-Free Option: Simply swap the all-purpose flour for a good quality 1:1 gluten-free baking flour blend. Make sure it contains xanthan gum. The texture might be slightly different but still delicious.
* Dairy-Free Alternative: For a dairy-free version, use plant-based butter (like a good quality vegan butter stick) and a plain, unsweetened plant-based milk (almond, soy, or oat milk work well). You can also use a dairy-free yogurt alternative for the buttermilk if needed, mixing it with a bit of lemon juice to mimic the tang.
* Flavor Boosts: Elevate the flavor of your Vintage Birthday Cakes!
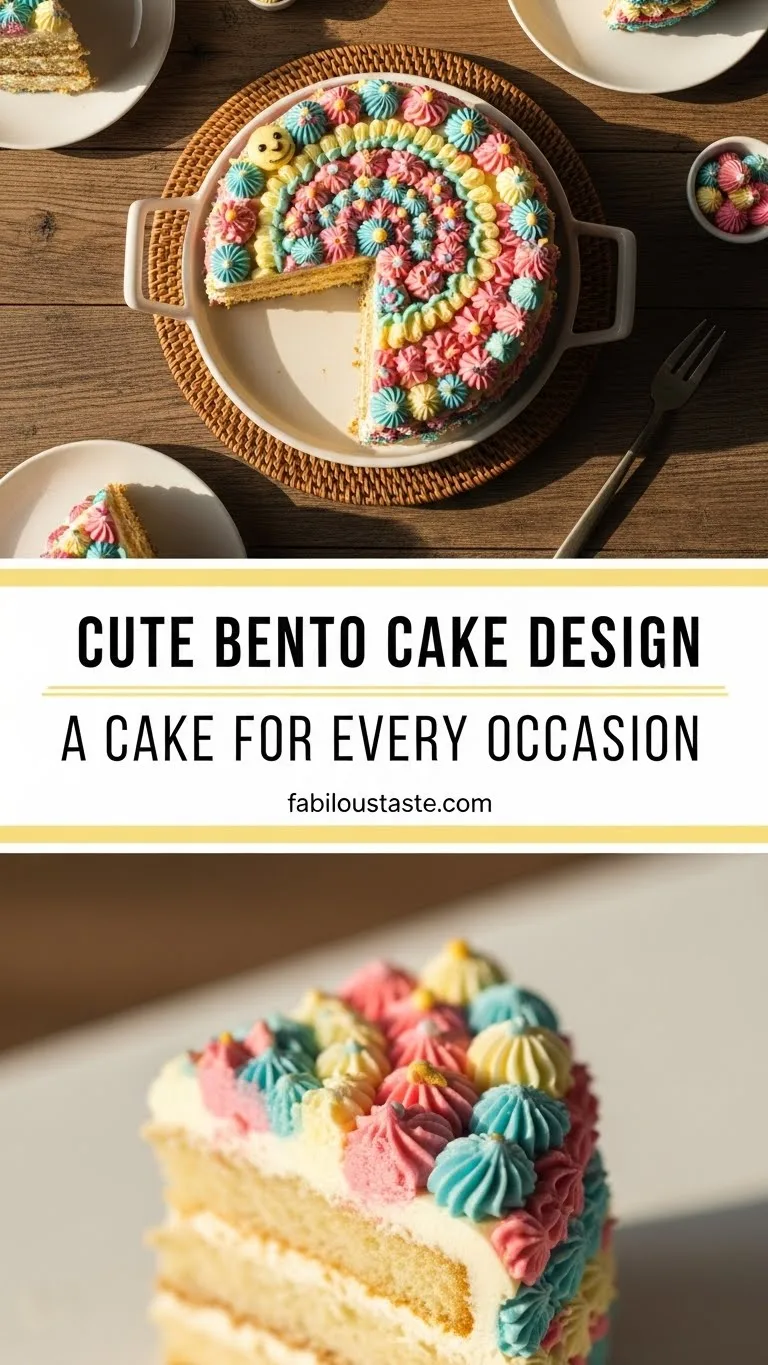
Add the zest of one lemon or orange to the cake batter for a brighter taste. A touch of almond extract (¼ to ½ teaspoon) can also add another layer of complexity. For the frosting, consider stirring in a tablespoon of cocoa powder for a subtle chocolate buttercream, or a few drops of food coloring for a fun, retro look.
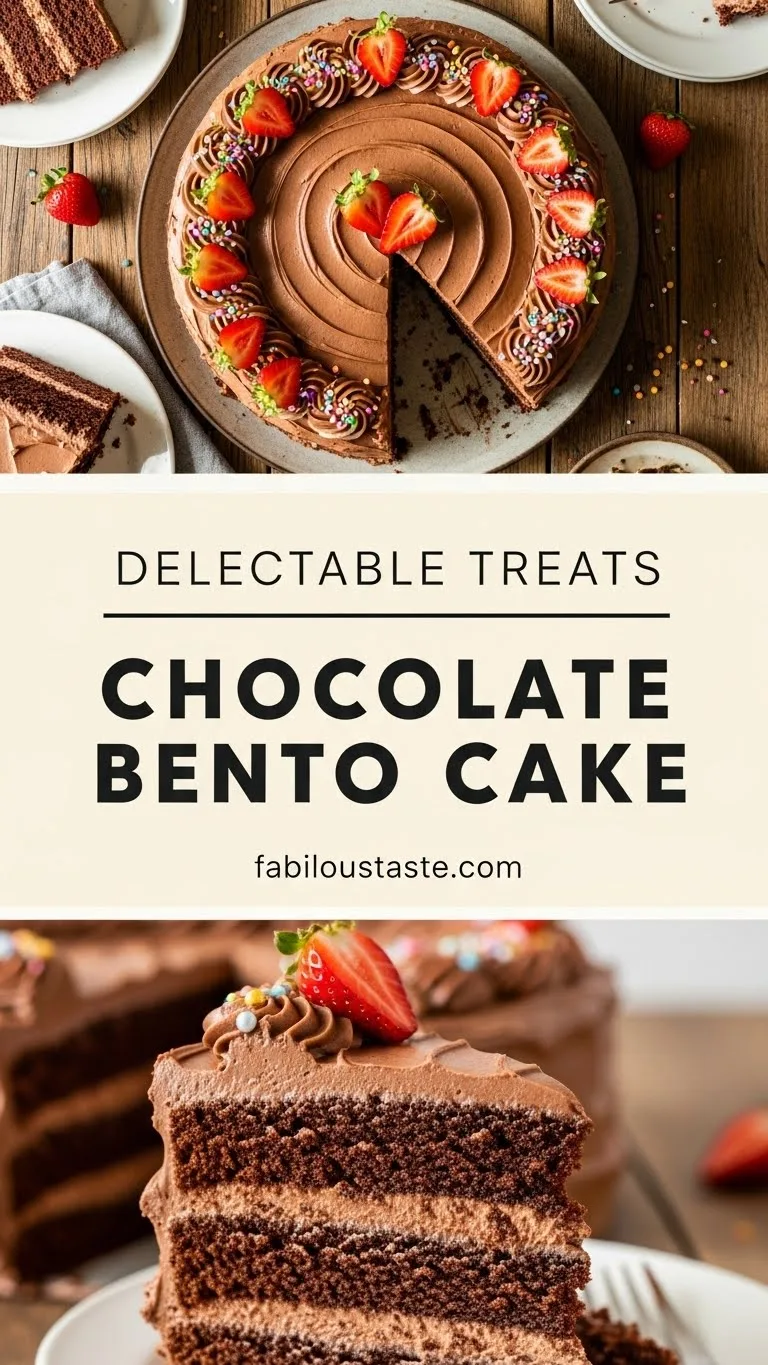
* Different Frostings: While classic buttercream is perfect for these Vintage Birthday Cakes, you can absolutely experiment. A cream cheese frosting would add a lovely tang, or a simple chocolate ganache could provide a richer, more decadent finish.
* Cupcakes: Turn this recipe into delightful Vintage Birthday Cakes cupcakes!
Bake them in lined muffin tins for about 18-22 minutes, reducing the baking time significantly. They are perfect for individual servings.
While adapting these vintage recipes for dietary needs, consider how such beautiful creations can also be given a contemporary twist. For more inspiration on visually appealing desserts, explore our collection of Cute Aesthetic Cakes.
Step-by-Step Instructions
Creating these beautiful Vintage Birthday Cakes is a rewarding process. Follow these clear steps for perfect results every time.
Note: This video is for demonstration purposes and may use a slightly different method.
1. Prepare Your Pans: First, preheat your oven to 350°F (175°C). Grease and flour two 8-inch round cake pans.
You can also line the bottoms with parchment paper for easy removal. This step is crucial for ensuring your Vintage Birthday Cakes release cleanly.
2.
Combine Dry Ingredients: In a large bowl, whisk together the sifted all-purpose flour, granulated sugar, baking powder, baking soda, and salt. Make sure everything is well combined. This ensures even distribution of leavening agents throughout your Vintage Birthday Cakes.
3. Cream Butter and Eggs: In a separate large bowl, using an electric mixer, cream the softened unsalted butter until light and fluffy. Next, add the eggs one at a time, beating well after each addition.
Scrape down the sides of the bowl often. Stir in the vanilla extract.
4.
Alternate Wet and Dry: Gradually add the dry ingredients to the wet ingredients, alternating with the buttermilk. Start and end with the dry ingredients. For example, add about one-third of the dry mixture, then half the buttermilk, then another third of the dry, the remaining buttermilk, and finally the last of the dry.
Mix just until combined; do not overmix, as this develops gluten and can make your Vintage Birthday Cakes tough.
5. Fill and Bake: Divide the batter evenly between your two prepared cake pans.
Smooth the tops with a spatula. Bake for 30-35 minutes, or until a wooden skewer inserted into the center comes out clean.
6.
Cool Completely: Once baked, remove the cakes from the oven and let them cool in their pans for about 10-15 minutes. Then, carefully invert them onto a wire rack to cool completely. This is vital!
Do not frost warm Vintage Birthday Cakes, or your frosting will melt.
7. Make the Buttercream Frosting: While the cakes cool, prepare your frosting.
In a large bowl, beat the softened butter with an electric mixer until creamy. Gradually add the sifted powdered sugar, alternating with the milk and vanilla extract, until smooth and fluffy. Add a pinch of salt if desired to balance the sweetness.
If the frosting is too thick, add a tiny bit more milk; if too thin, add more powdered sugar.
8. Assemble and Frost: Once the cake layers are entirely cool, place one layer on your serving plate.
Spread a generous amount of buttercream over the top. Carefully place the second cake layer on top. Frost the top and sides of your Vintage Birthday Cakes evenly.
Decorate as desired! Simple swirls with an offset spatula often look the most authentic for these retro birthday cakes.
Pro Tips for Success
Achieving the perfect Vintage Birthday Cakes is simple with a few smart techniques. These tips will help you create a truly memorable dessert.
* Room Temperature Ingredients are Key: Always bring your butter, eggs, and buttermilk to room temperature before you start. Room temperature ingredients emulsify better, creating a smoother, more uniform batter and a lighter, fluffier cake. This makes a noticeable difference in the texture of your Vintage Birthday Cakes.
* Measure Flour Correctly: Spoon your flour into the measuring cup and then level it off with a straight edge. Do not scoop directly from the bag, as this compacts the flour and can result in too much flour, leading to a dry cake.
* Do Not Overmix: Once you add the dry ingredients to the wet, mix just until combined.
Overmixing develops gluten, which can make your Vintage Birthday Cakes tough and dense. A few small lumps are perfectly fine.
* Grease and Flour Meticulously: Take your time greasing and flouring your cake pans.
I often use a thin layer of butter followed by a dusting of flour, then tap out any excess. For extra insurance, line the bottoms with parchment paper. This prevents sticking and ensures beautiful Vintage Birthday Cakes.
* Cool Completely: This cannot be stressed enough! Attempting to frost warm cakes will result in a melted, runny mess. Allow your cake layers to cool completely on a wire rack, which can take several hours, before applying any frosting.
Patience is a virtue when making these old-fashioned birthday cakes.
* Sift Your Powdered Sugar: For the smoothest, lump-free buttercream, sift your powdered sugar before adding it to the butter. This simple step ensures your frosting is wonderfully silky, perfect for coating these classic birthday cakes.
* Simple Decorating: Embrace the charm of Vintage Birthday Cakes with simple decoration. A smooth, even coat of frosting, perhaps with a few piped borders or some colorful sprinkles, is all you need. You don’t need intricate designs for these nostalgic treats.

Mastering these foundational techniques not only perfects your vintage cakes but also equips you to tackle other impressive desserts with confidence. Discover more show-stopping dishes that are captivating home cooks everywhere with our list of 25 Viral Food Recipes Everyone’s Making Right Now.
Storage & Reheating Tips
Proper storage ensures your delicious Vintage Birthday Cakes remain fresh and delightful for as long as possible.
* Room Temperature: If your cake has a buttercream frosting made with butter, it can safely stay at room temperature for up to 2-3 days, provided your kitchen is cool (below 70°F/21°C). Always store it in an airtight cake dome or container to prevent it from drying out. The flavors of these Vintage Birthday Cakes often meld beautifully after a day or two.
* Refrigerator: For longer storage, or if your kitchen is warm, refrigerate your Vintage Birthday Cakes. Cover the cake loosely with plastic wrap or place it in an airtight container. It will last for up to 5-7 days in the fridge.
* Bringing to Room Temperature: If refrigerated, always allow your Vintage Birthday Cakes to sit at room temperature for at least an hour before serving. This softens the frosting and cake, bringing out the best flavor and texture. Cold cake can taste dry and dense.
* Freezing Whole Cake: You can freeze an unfrosted cake. Wrap each cooled cake layer tightly in plastic wrap, then again in aluminum foil. It will last for up to 2-3 months.
Thaw in the refrigerator overnight before frosting.
* Freezing Slices: For individual servings, freeze slices of frosted cake. Place slices on a baking sheet to freeze solid, then wrap each slice tightly in plastic wrap and aluminum foil.
Freeze for up to 1 month. Thaw at room temperature for about an hour before enjoying. This is perfect for extending the life of your delicious Vintage Birthday Cakes.
What to Serve With This Recipe
These Vintage Birthday Cakes are a showstopper all on their own, but a few simple accompaniments can enhance the experience even further. The beauty of these nostalgic birthday cake recipes is their versatility.
* Fresh Berries: A simple bowl of fresh seasonal berries – think ripe strawberries, blueberries, or raspberries – adds a lovely counterpoint of freshness and a touch of tartness against the sweet, rich cake. It’s a light, natural pairing.
* A Scoop of Vanilla Ice Cream: For an extra decadent treat, serve a slice of your Vintage Birthday Cakes with a scoop of high-quality vanilla bean ice cream.
The creamy, cold ice cream melts slightly into the cake, creating pure bliss.
* A Glass of Cold Milk: There’s something inherently comforting and classic about a slice of cake with a tall glass of cold milk. It’s a simple, perfect pairing that children and adults alike adore, really embracing the retro feel of these Vintage Birthday Cakes.
* Coffee or Tea: For the adults, a freshly brewed cup of coffee or a comforting mug of tea provides a wonderful complement. The slight bitterness of coffee or the warmth of tea cuts through the sweetness of the cake beautifully.
* Whipped Cream: A dollop of freshly made, lightly sweetened whipped cream can add an airy, delicate texture and a touch of elegance without overpowering the cake’s classic flavors.

These vintage birthday cakes are undoubtedly special, perfect for evoking fond memories at any celebration, but there’s a whole world of delicious cakes to explore beyond this classic. If you’re looking for more cake ideas for every occasion, be sure to browse our extensive Just Cakes Collection.
FAQs
You’ve got questions about these delightful Vintage Birthday Cakes, and I have answers!
Can I make these Vintage Birthday Cakes ahead of time?
Absolutely! You can bake the cake layers up to 2 days in advance. Once completely cooled, wrap them tightly in plastic wrap and store at room temperature.
You can also make the buttercream frosting a day ahead and store it in an airtight container in the refrigerator. Before using, bring it to room temperature and re-whip it briefly until fluffy again. This is a great time-saver for busy schedules.
How do I get perfectly flat cake tops for easy stacking?
For flatter cake tops, you have a few options. First, ensure your oven temperature is accurate; a too-hot oven can cause doming. You can also use “cake strips” wrapped around your pans, which insulate the edges and promote more even baking.
Alternatively, once your cakes are completely cool, simply use a long serrated knife to carefully level off any domes. This creates a stable surface for these Vintage Birthday Cakes.
What frosting is best for Vintage Birthday Cakes?
A classic vanilla buttercream, as outlined in this recipe, is truly the best choice for Vintage Birthday Cakes. Its rich, buttery flavor and smooth texture perfectly complement the tender cake. It’s easy to work with and holds its shape beautifully for simple, elegant decorations, embodying the spirit of these old-fashioned birthday cakes.
Can I use a cake mix to make these Vintage Birthday Cakes?
While this recipe is designed for scratch baking for the best flavor and texture, you can certainly adapt a yellow cake mix if you are short on time. Follow the box instructions, but for an extra boost of flavor and moisture, consider adding an extra egg, replacing water with milk, and adding a teaspoon of vanilla extract. However, for that authentic, nourishing taste, I always recommend making these Vintage Birthday Cakes from scratch.
How long do Vintage Birthday Cakes last?
These Vintage Birthday Cakes will stay fresh at room temperature for 2-3 days when stored in an airtight container. If refrigerated, they will last up to 5-7 days. Always allow chilled cake to come to room temperature before serving for the best taste and texture.
Birthday cakes have a long and rich history, evolving from ancient traditions and symbolic offerings into the celebratory centerpieces we know today. The practice of serving a sweet confection to mark an individual’s birth has roots in various cultures across different eras, often associated with good fortune and festivities, making the birthday cake a timeless tradition.
Nutrition Information (per serving)
Please note: This nutrition information is an estimate based on the ingredients used in this recipe for Vintage Birthday Cakes and assumes 12 servings. Actual values may vary based on exact measurements and brands of ingredients.
| Nutriment | Quantité |
|---|---|
| Calories | 480 |
| Matières grasses totales | 21 g |
| Graisses saturées | 13 g |
| Cholestérol | 95 mg |
| Sodium | 310 mg |
| Glucides totaux | 68 g |
| Fibres alimentaires | 1 g |
| Sucres totaux | 48 g |
| Protéines | 5 g |

Vintage Birthday Cakes
This Vintage Birthday Cake recipe is a cherished family heirloom, evoking nostalgic memories of childhood celebrations and grandmother's magic touch in the kitchen. It's a straightforward, wholesome dessert frosted with love, offering a simple yet profound way to connect with the past and create new cherished moments for your own family. Made with pantry staples, it yields a tender crumb and delicious, creamy frosting, embodying the true spirit of 'food is love' without being overly complicated.
- Total Time: 4 hours 45 mins
- Yield: 12 servings 1x
Ingredients
2 ½ cups All-purpose flour
1 ¾ cups Granulated sugar
1 ½ teaspoons Baking powder
½ teaspoon Baking soda
½ teaspoon Salt
½ cup Unsalted butter
3 Large eggs
2 teaspoons Vanilla extract
1 cup Buttermilk
1 cup Unsalted butter
4 cups Powdered sugar
¼ cup Milk
1 ½ teaspoons Vanilla extract
Pinch Salt
Instructions
- Prepare Your Pans: First, preheat your oven to 350°F (175°C). Grease and flour two 8-inch round cake pans. You can also line the bottoms with parchment paper for easy removal
- Combine Dry Ingredients: In a large bowl, whisk together the sifted all-purpose flour, granulated sugar, baking powder, baking soda, and salt. Make sure everything is well combined
- Cream Butter and Eggs: In a separate large bowl, using an electric mixer, cream the softened unsalted butter until light and fluffy. Next, add the eggs one at a time, beating well after each addition. Scrape down the sides of the bowl often. Stir in the vanilla extract
- Alternate Wet and Dry: Gradually add the dry ingredients to the wet ingredients, alternating with the buttermilk. Start and end with the dry ingredients. For example, add about one-third of the dry mixture, then half the buttermilk, then another third of the dry, the remaining buttermilk, and finally the last of the dry. Mix just until combined; do not overmix, as this develops gluten and can make your Vintage Birthday Cakes tough
- Fill and Bake: Divide the batter evenly between your two prepared cake pans. Smooth the tops with a spatula. Bake for 30-35 minutes, or until a wooden skewer inserted into the center comes out clea
- Cool Completely: Once baked, remove the cakes from the oven and let them cool in their pans for about 10-15 minutes. Then, carefully invert them onto a wire rack to cool completely. This is vital! Do not frost warm Vintage Birthday Cakes, or your frosting will melt
- Make the Buttercream Frosting: While the cakes cool, prepare your frosting. In a large bowl, beat the softened butter with an electric mixer until creamy. Gradually add the sifted powdered sugar, alternating with the milk and vanilla extract, until smooth and fluffy. Add a pinch of salt if desired to balance the sweetness. If the frosting is too thick, add a tiny bit more milk; if too thin, add more powdered sugar
- Assemble and Frost: Once the cake layers are entirely cool, place one layer on your serving plate. Spread a generous amount of buttercream over the top. Carefully place the second cake layer on top. Frost the top and sides of your Vintage Birthday Cakes evenly. Decorate as desired! Simple swirls with an offset spatula often look the most authentic for these retro birthday cakes
Notes
Room Temperature Ingredients are Key: Always bring your butter, eggs, and buttermilk to room temperature before you start. Room temperature ingredients emulsify better, creating a smoother, more uniform batter and a lighter, fluffier cake.
Measure Flour Correctly: Spoon your flour into the measuring cup and then level it off with a straight edge. Do not scoop directly from the bag, as this compacts the flour and can result in too much flour, leading to a dry cake.
Do Not Overmix: Once you add the dry ingredients to the wet, mix just until combined. Overmixing develops gluten, which can make your Vintage Birthday Cakes tough and dense. A few small lumps are perfectly fine.
Grease and Flour Meticulously: Take your time greasing and flouring your cake pans. I often use a thin layer of butter followed by a dusting of flour, then tap out any excess. For extra insurance, line the bottoms with parchment paper.
Cool Completely: This cannot be stressed enough! Attempting to frost warm cakes will result in a melted, runny mess. Allow your cake layers to cool completely on a wire rack, which can take several hours, before applying any frosting.
Sift Your Powdered Sugar: For the smoothest, lump-free buttercream, sift your powdered sugar before adding it to the butter. This simple step ensures your frosting is wonderfully silky.
Simple Decorating: Embrace the charm of Vintage Birthday Cakes with simple decoration. A smooth, even coat of frosting, perhaps with a few piped borders or some colorful sprinkles, is all you need.
Room Temperature Storage: If your cake has a buttercream frosting made with butter, it can safely stay at room temperature for up to 2-3 days, provided your kitchen is cool (below 70°F/21°C). Always store it in an airtight cake dome or container to prevent it from drying out.
Refrigerator Storage: For longer storage, or if your kitchen is warm, refrigerate your Vintage Birthday Cakes. Cover the cake loosely with plastic wrap or place it in an airtight container. It will last for up to 5-7 days in the fridge.
Bringing to Room Temperature: If refrigerated, always allow your Vintage Birthday Cakes to sit at room temperature for at least an hour before serving. This softens the frosting and cake, bringing out the best flavor and texture.
Freezing Whole Cake: You can freeze an unfrosted cake. Wrap each cooled cake layer tightly in plastic wrap, then again in aluminum foil. It will last for up to 2-3 months. Thaw in the refrigerator overnight before frosting.
Freezing Slices: For individual servings, freeze slices of frosted cake. Place slices on a baking sheet to freeze solid, then wrap each slice tightly in plastic wrap and aluminum foil. Freeze for up to 1 month. Thaw at room temperature for about an hour before enjoying.
- Prep Time: 40 mins
- Cook Time: 35 mins
- Category: Dessert
- Method: Baking
- Cuisine: American
Nutrition
- Serving Size: 1 serving
- Calories: 480 kcal
- Sugar: 48g
- Sodium: 310mg
- Fat: 21g
- Saturated Fat: 13g
- Carbohydrates: 68g
- Fiber: 1g
- Protein: 5g
- Cholesterol: 95mg