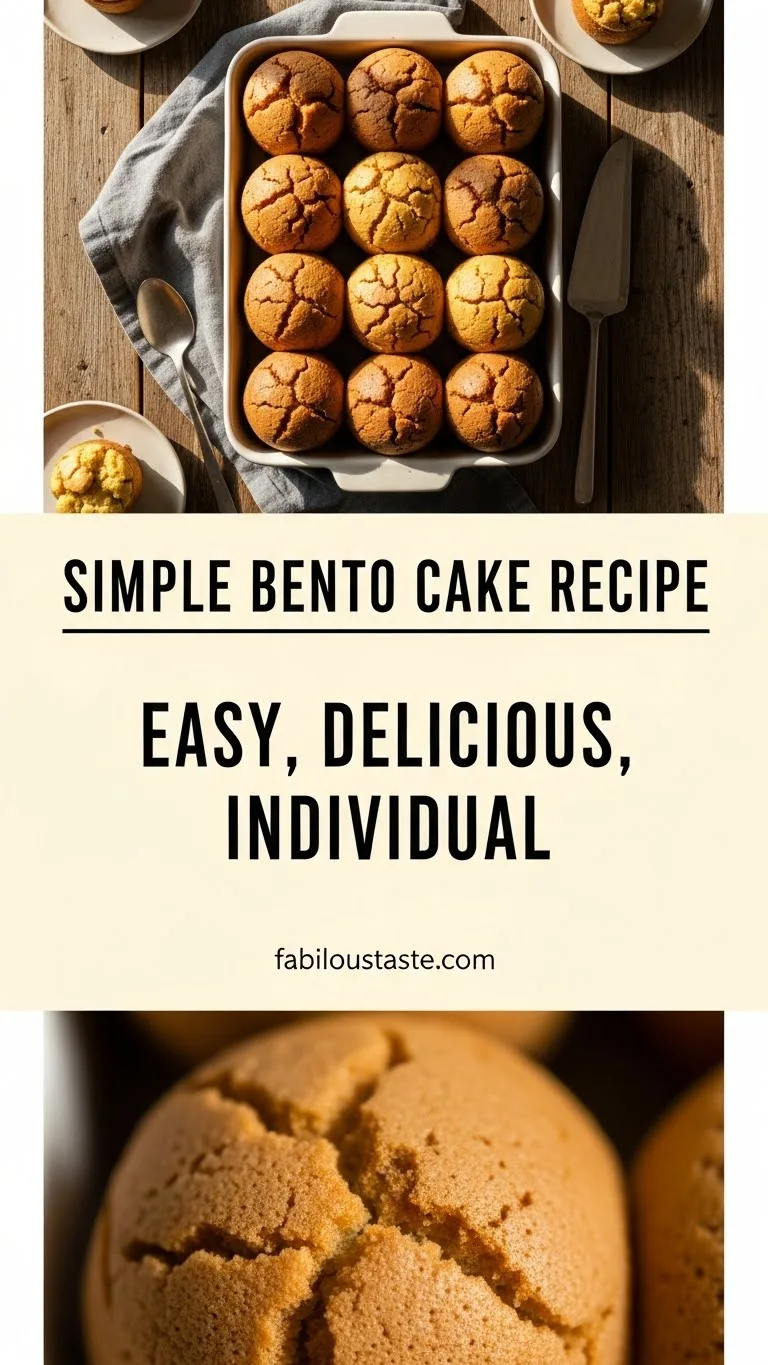
Pretty Simple Birthday Cakes
As a mom of three, birthdays in our house are a big deal. The joy on my children’s faces when they see their special cake, made just for them, truly warms my heart. But let’s be honest, between school runs, laundry piles, and a never-ending to-do list, crafting an elaborate, bakery-worthy masterpiece feels more like a fantasy than a reality.
For years, I stressed over store-bought options or complicated recipes, until I finally embraced simplicity. I realized that the love baked into a cake matters far more than intricate fondant work. That’s why I poured my heart into creating what I affectionately call “Pretty Simple Birthday Cakes.” These aren’t just cakes; they’re an invitation to slow down, connect, and celebrate with genuine homemade goodness, without the stress.
This recipe is designed to be accessible for every parent, every busy person, who wants to create something special and delicious. You’ll find that making these Pretty Simple Birthday Cakes becomes a cherished tradition, bringing smiles and sweet memories without sacrificing your sanity. They are genuinely pretty, undeniably simple, and utterly delicious.
Why You’ll Love These Pretty Simple Birthday Cakes
You will truly fall in love with these Pretty Simple Birthday Cakes for so many reasons. First, and perhaps most importantly for busy families, they embody ease. This isn’t a recipe demanding hours in the kitchen, nor does it require fancy techniques or specialty equipment.
Instead, it offers a straightforward path to a delightful homemade cake. Imagine celebrating your little one’s big day, or any special occasion, with a cake that tastes absolutely amazing and looks charmingly rustic, all without the usual baking anxiety. This recipe ensures you can create beautiful memories without the stress.
Furthermore, these Pretty Simple Birthday Cakes deliver on flavor. We’re talking about a moist, tender crumb that melts in your mouth, paired with a rich, creamy frosting that perfectly balances the sweetness. It’s that classic, comforting taste of a homemade cake that everybody adores.
Kids devour it, and adults always ask for the recipe. You control the ingredients, ensuring wholesome goodness for your family. As a mom, knowing exactly what goes into our food brings such peace of mind.
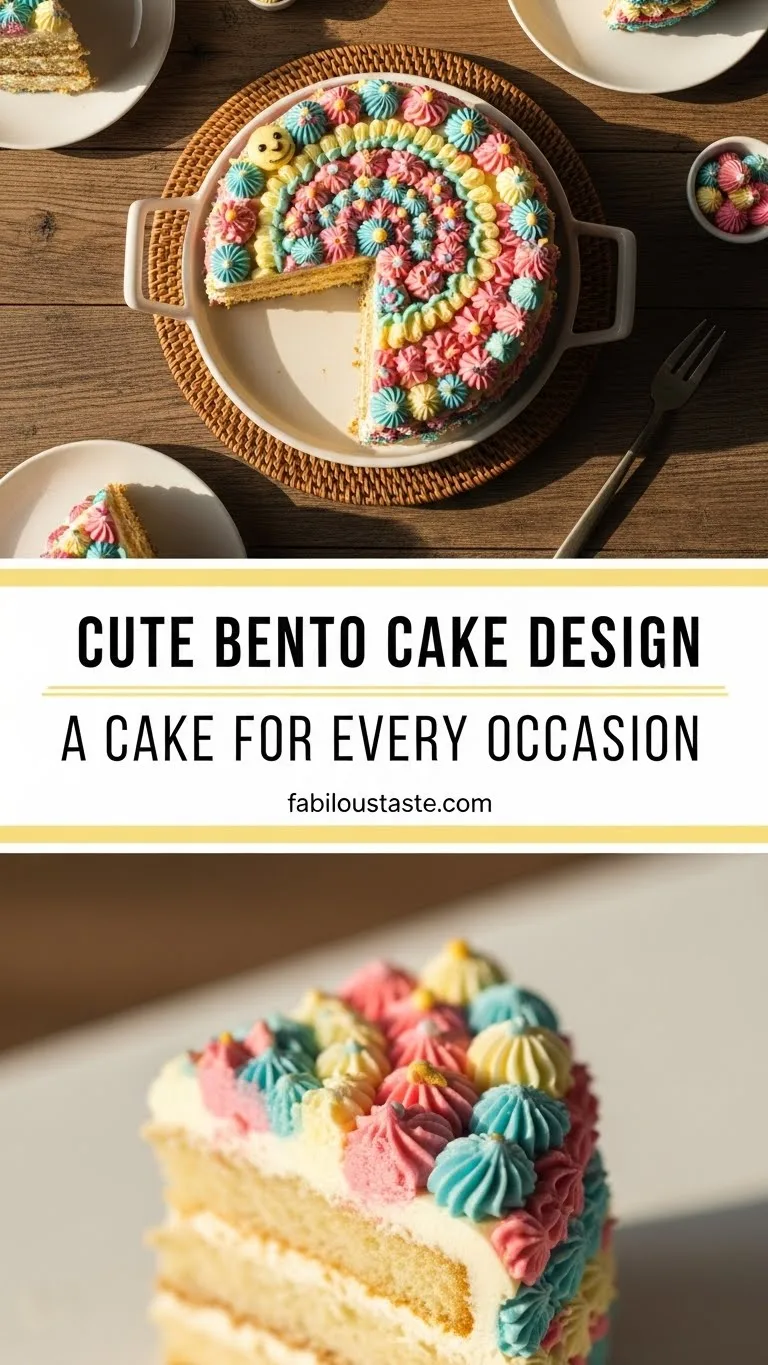
Another fantastic benefit? Customization! While the foundation for these Pretty Simple Birthday Cakes remains consistent, you have endless opportunities to personalize it.
Add sprinkles, fresh berries, a simple message, or even different flavor extracts to the frosting. Every birthday can feature a unique cake, tailored to the recipient’s favorite colors or themes, all built upon this same reliable, easy-to-follow recipe. This versatility makes it the ultimate go-to for any celebration.
Finally, these Pretty Simple Birthday Cakes allow you to pour your love into a tangible creation. There’s an undeniable magic in presenting a cake you’ve baked yourself. It’s a gesture of affection, a sweet offering from your heart to theirs.
These cakes aren’t just desserts; they are edible expressions of love, making every birthday feel extra special and deeply personal. They truly are the definition of Pretty Simple Birthday Cakes that bring joy.
Ingredients You’ll Need

| For the Cake: | Quantity |
|---|---|
| All-purpose flour | 2 ½ cups |
| Granulated sugar | 1 ¾ cups |
| Baking powder | 1 tablespoon |
| Salt | ½ teaspoon |
| Unsalted butter, softened | ½ cup (1 stick) |
| Large eggs | 3, room temperature |
| Whole milk | 1 cup, room temperature |
| Vanilla extract | 2 teaspoons |
| For the Simple Buttercream Frosting: | Quantity |
| Unsalted butter, softened | 1 cup (2 sticks) |
| Powdered sugar | 4 cups (approx. 1 lb) |
| Whole milk or heavy cream | 3-4 tablespoons |
| Vanilla extract | 1 teaspoon |
| Pinch of salt | |
| Optional: Food coloring for tinting | |
| Optional: Sprinkles for decorating |
Substitutions & Variations
One of the beautiful aspects of these Pretty Simple Birthday Cakes is their adaptability. You can easily make a few tweaks to suit dietary needs or simply to change up the flavor profile. Don’t be afraid to experiment; that’s part of the fun of homemade baking!
* Gluten-Free Option: For a gluten-free version, simply swap out the all-purpose flour for a good quality 1:1 gluten-free baking flour blend. Make sure your blend contains xanthan gum for optimal texture. The rest of the recipe remains the same, making gluten-free Pretty Simple Birthday Cakes totally achievable.
* Dairy-Free Cake: Replace the butter with a dairy-free butter alternative (like Earth Balance sticks) and use your favorite dairy-free milk (almond, soy, or oat milk work well). For the frosting, use dairy-free butter and a plant-based milk.
* Buttermilk Substitute: If you don’t have buttermilk on hand, don’t worry!
You can easily make your own. Add 1 tablespoon of white vinegar or lemon juice to a measuring cup, then fill the rest of the cup with whole milk until it reaches the 1-cup line. Let it sit for 5-10 minutes until it slightly curdles.
This creates the tanginess and moisture that buttermilk provides, ensuring your Pretty Simple Birthday Cakes stay tender.
* Flavor Variations for the Cake:
* Lemon Zest: Add the zest of one lemon to the dry ingredients for a bright, citrusy cake.
* Almond Extract: Swap half of the vanilla extract for almond extract for a delicate, nutty flavor.
* Chocolate Chip: Fold in ½ cup of mini chocolate chips to the batter just before pouring into the pans for a fun twist.
* Confetti Cake: Gently fold in ¼ cup of colorful sprinkles (jimmie-style work best) into the batter for a festive confetti cake.
* Frosting Flavor Twists:
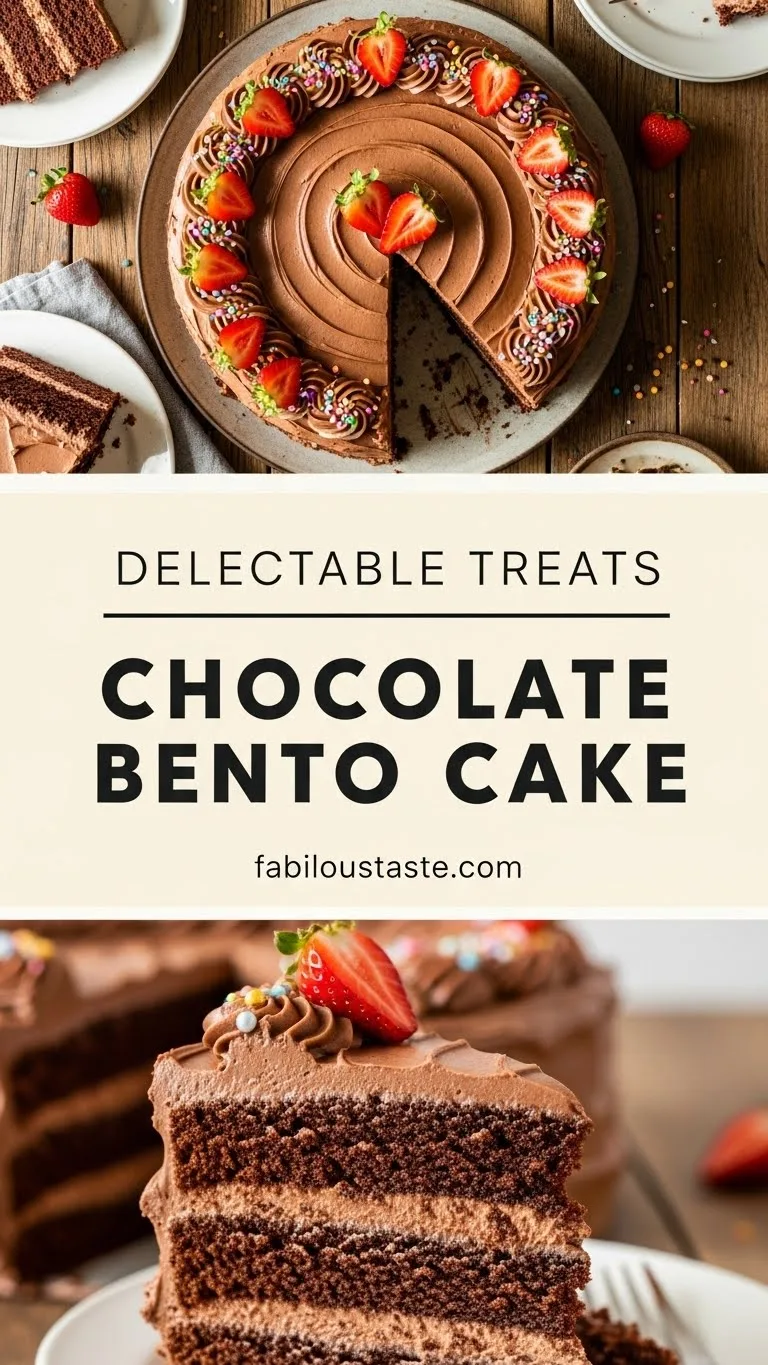
* Chocolate Buttercream: Melt 4 ounces of unsweetened or semi-sweet chocolate and cool slightly.
Beat it into the prepared buttercream along with an extra tablespoon or two of milk until smooth.
* Cream Cheese Frosting: Reduce the butter to ½ cup and add 8 ounces of softened cream cheese. Beat the cream cheese and butter together until fluffy, then gradually add powdered sugar, milk, and vanilla.
This makes a tangier, richer frosting for your Pretty Simple Birthday Cakes.
* Peanut Butter Frosting: Beat in ½ cup of creamy peanut butter with the softened butter before adding the powdered sugar. Adjust milk as needed for consistency.
* Fruit Puree: For natural sweetness and a subtle fruit flavor, you can replace a portion of the sugar (up to ¼ cup) with applesauce or mashed banana in the cake batter. This adds moisture too!
* Cupcakes: This recipe easily converts to cupcakes!
Line cupcake tins with liners and fill about two-thirds full. Bake for 18-22 minutes, or until a toothpick inserted comes out clean. This is a fantastic way to make individual Pretty Simple Birthday Cakes for a crowd.
While the focus is on simplicity, these cakes offer plenty of room for creative expression and personalization. If you’re looking for fun and easy ways to add a unique touch to smaller cakes, explore some fantastic Bento Cake Decorating Ideas.
Step-by-Step Instructions
Baking these Pretty Simple Birthday Cakes is a joyful process, not a daunting one. Follow these clear steps, and you’ll have a gorgeous, homemade cake ready for celebration in no time. Precision helps, but don’t overthink it; remember, this is about love, not perfection.
Note: This video is for demonstration purposes and may use a slightly different method.
1. Prepare Your Pans: Preheat your oven to 350°F (175°C). Lightly grease and flour two 8-inch round cake pans.
You can also line the bottoms with parchment paper for extra assurance. This step ensures your Pretty Simple Birthday Cakes release cleanly.
2.
Combine Dry Ingredients: In a large bowl, whisk together the flour, granulated sugar, baking powder, and salt. Make sure these are thoroughly combined; this prevents pockets of leavening.
3.
Cream Butter and Eggs: In a separate large bowl, using an electric mixer, beat the softened butter until light and creamy, about 2 minutes. Add the eggs one at a time, beating well after each addition until fully incorporated. Scrape down the sides of the bowl as needed.
This creates a light base for your Pretty Simple Birthday Cakes.
4. Alternate Wet and Dry: Gradually add the dry ingredients to the butter mixture, alternating with the milk, beginning and ending with the dry ingredients.
Start by adding about one-third of the dry ingredients, mix just until combined. Then add half the milk, mix. Repeat with another third of the dry, then the remaining milk, and finally the last of the dry ingredients.
Crucially, mix only until just combined; overmixing develops gluten and can make your Pretty Simple Birthday Cakes tough. Stir in the vanilla extract.
5.
Divide and Bake: Divide the batter evenly between the two prepared cake pans. Smooth the tops with a spatula. Bake for 28-32 minutes, or until a wooden skewer or toothpick inserted into the center of the cakes comes out clean.
6. Cool the Cakes: Once baked, remove the cakes from the oven and let them cool in their pans on a wire rack for about 10-15 minutes. Then, carefully invert the cakes onto the wire rack to cool completely.
This prevents them from getting soggy. Ensure they are *completely* cool before frosting; otherwise, your frosting will melt.
7.
Make the Simple Buttercream Frosting: While the cakes cool, prepare the frosting. In a large bowl, beat the softened butter with an electric mixer until light and fluffy, about 2-3 minutes. Gradually add the powdered sugar, one cup at a time, mixing on low speed until combined, then increase speed to medium and beat until smooth.
8. Add Liquid and Flavor: Pour in 3 tablespoons of milk or cream, vanilla extract, and a pinch of salt. Beat on medium-high speed until the frosting is light, fluffy, and spreadable, about 3-5 minutes.
If the frosting is too thick, add more milk, a teaspoon at a time, until it reaches your desired consistency. If you want to color your frosting, add a few drops of food coloring now and mix until uniformly colored. This simple frosting makes these Pretty Simple Birthday Cakes shine.
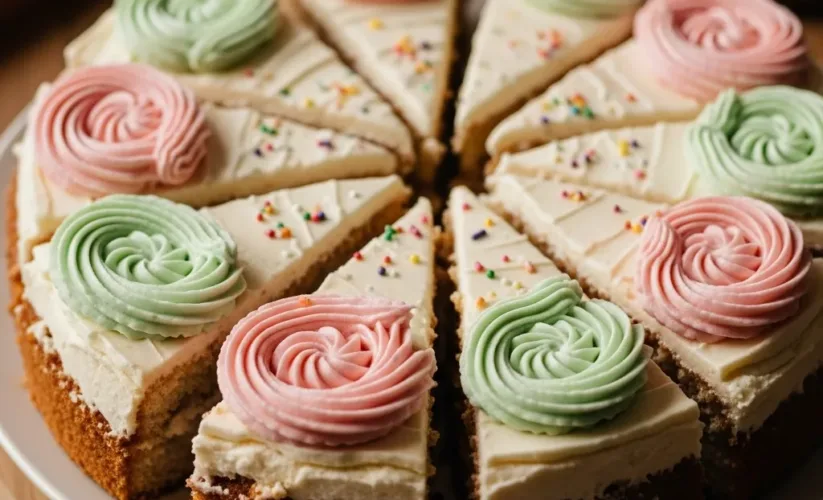
9. Assemble and Frost: Once the cakes are completely cool, place one cake layer on your serving plate or cake stand. Spread about one-third of the frosting evenly over the top.
Place the second cake layer on top and spread the remaining frosting over the top and sides of the cake. Use an offset spatula or the back of a spoon to create pretty swirls, embracing the “pretty simple” aesthetic.
10.
Decorate (Optional): Finish your Pretty Simple Birthday Cakes with sprinkles, fresh berries, or a simple handwritten message. Now, slice and enjoy!
Pro Tips for Success

* Room Temperature Ingredients are Key: This is perhaps the most important tip. Ensure your butter, eggs, and milk are at room temperature. Room temperature ingredients emulsify much better, creating a smoother batter that traps more air.
This leads to a lighter, fluffier cake texture. Plan ahead and take them out of the fridge at least 30 minutes to an hour before you start baking.
* Measure Flour Correctly: Avoid scooping flour directly from the bag with your measuring cup.
This compacts the flour, leading to too much in your recipe. Instead, spoon the flour into your measuring cup and then level it off with the back of a knife. This method ensures you get an accurate measurement, which is crucial for the tender crumb of these Pretty Simple Birthday Cakes.
* Do Not Overmix: Once you start adding the dry ingredients and milk, mix only until just combined. Overmixing develops the gluten in the flour, making your cake tough and dense. A few small lumps are perfectly fine.
Embrace the gentleness for these Pretty Simple Birthday Cakes.
* Prepare Pans Thoroughly: Greasing and flouring your pans properly prevents sticking, which is a common baking frustration. For extra insurance, cut out parchment paper circles to fit the bottom of your pans after greasing.
This guarantees an easy release, keeping your Pretty Simple Birthday Cakes intact.
* Cool Completely Before Frosting: Patience is a virtue when it comes to frosting. If your cakes are even slightly warm, your beautiful buttercream will melt and slide right off.
Allow the cakes to cool completely on a wire rack, usually for at least 1-2 hours, before you even think about the frosting.
* Softened Butter for Frosting: Just like the cake, room temperature butter for the frosting is essential. It whips up light and fluffy, creating that perfect, creamy texture.
If your butter is too cold, your frosting will be lumpy. If it’s too warm, it can become greasy.
* Adjust Frosting Consistency: Don’t be afraid to adjust the consistency of your buttercream.
If it’s too thick, add milk or cream one teaspoon at a time. If it’s too thin, add a tablespoon or two more of powdered sugar. The perfect consistency spreads easily but holds its shape, allowing you to create beautiful designs on your Pretty Simple Birthday Cakes.
* Use a Crumb Coat (Optional but Recommended): For a professional-looking finish, apply a very thin layer of frosting all over the cooled cakes. This “crumb coat” traps any loose crumbs. Chill the cake in the refrigerator for 15-20 minutes, then apply your final, thicker layer of frosting.
This helps maintain the “pretty” in your Pretty Simple Birthday Cakes.
* Embrace Imperfection: Remember, these are Pretty Simple Birthday Cakes. The beauty lies in their homemade charm.
Don’t strive for bakery perfection; instead, enjoy the process and the love you’re putting into it. A rustic swirl or some scattered sprinkles are often far more endearing than a perfectly smooth finish.
Mastering these straightforward techniques is key to consistently perfect results, laying the foundation for many delicious creations. For a classic option that truly highlights these simple baking principles, try making a perfect Vanilla Bento Cake.
Storage & Reheating Tips
Proper storage ensures your Pretty Simple Birthday Cakes remain fresh and delicious for days, allowing you to enjoy the leftovers without worry.
* At Room Temperature: If your cake is covered in a simple buttercream frosting (made with butter, powdered sugar, milk, and vanilla), it can safely stay at room temperature for up to 2-3 days. Make sure you store it in an airtight cake dome or a container to prevent it from drying out. This also protects it from any unwanted kitchen odors.
* In the Refrigerator: For longer storage, or if your frosting contains perishable ingredients like cream cheese, refrigerate your cake. Place it in an airtight container. The cake will stay fresh for up to 5-7 days in the fridge.
Be aware that refrigerated cakes can sometimes dry out slightly. To combat this, you might place a piece of plastic wrap directly onto any cut surfaces before covering the cake.
* Freezing Unfrosted Cake Layers: This is an excellent tip for making these Pretty Simple Birthday Cakes ahead of time!
Once your cake layers are completely cool, wrap each layer tightly in plastic wrap, then an additional layer of aluminum foil. You can freeze them for up to 2-3 months. Thaw them in the refrigerator overnight or at room temperature for a few hours before frosting.
* Freezing Frosted Cake: You can also freeze a fully frosted cake! For best results, first freeze the cake uncovered for about 30 minutes until the frosting is firm. Then, wrap the entire cake tightly in plastic wrap and then foil.
This prevents the frosting from sticking to the wrap. Freeze for up to 1 month. Thaw in the refrigerator overnight.
* Reheating (or bringing to temperature): Cakes taste best at room temperature. If your cake has been refrigerated, take it out about 30 minutes to an hour before serving to allow it to warm up slightly. This softens the butter in the frosting and brings out the full flavor and moist texture of your Pretty Simple Birthday Cakes. You won’t typically “reheat” a cake in the traditional sense, but bringing it to room temperature is key.
What to Serve With This Recipe

* Fresh Berries: A vibrant mix of fresh strawberries, blueberries, raspberries, or blackberries offers a beautiful contrast in color and a burst of fresh flavor. Their slight tartness perfectly complements the sweet cake. Arrange them artfully around the base or on top of the cake.
* A Scoop of Vanilla Ice Cream: You can never go wrong with a classic pairing. A scoop of good quality vanilla bean ice cream alongside a slice of these Pretty Simple Birthday Cakes creates a comforting and indulgent dessert experience that everyone loves.
* Whipped Cream: A dollop of homemade whipped cream, lightly sweetened, adds an extra layer of creamy richness without being too heavy.
It’s light and airy, a wonderful complement to these Pretty Simple Birthday Cakes.
* Coffee or Tea: For the adults, a freshly brewed cup of coffee or a comforting herbal tea provides a lovely balance to the sweetness of the cake. It makes the celebratory moment feel even more relaxed and enjoyable.
* Sparkling Cider or Milk: For the younger crowd (and those who prefer non-alcoholic options), sparkling apple cider makes any occasion feel special. Or, keep it classic with a cold glass of milk, a timeless partner for a slice of cake.
* Simple Party Food: Keep the rest of your party food light and fun.
Think mini sandwiches, fruit skewers, veggie sticks with dip, and maybe some easy homemade cookies. This approach maintains the “pretty simple” theme for the whole gathering, letting your Pretty Simple Birthday Cakes truly shine as the star.
* Candles and Confetti: Don’t forget the essentials for any birthday celebration! Bright candles, sparkling confetti, and balloons immediately set a festive mood and make these Pretty Simple Birthday Cakes feel even more celebratory.
Even with their simplicity, these cakes serve as an excellent canvas for imaginative themes and festive enhancements. If you’re dreaming of a celebration with a specific aesthetic, consider how these simple cakes can be transformed into an exciting Beach Themed Birthday Cake.
FAQs
Can I make these Pretty Simple Birthday Cakes ahead of time?
Absolutely! You can bake the cake layers up to 2-3 days in advance. Cool them completely, wrap them tightly in plastic wrap, and store them at room temperature or in the refrigerator.
You can also freeze the unfrosted layers for up to 2 months. Make the frosting the day before or on the day of assembly. This flexibility makes these Pretty Simple Birthday Cakes perfect for busy schedules.
How do I decorate these cakes simply but beautifully?
The beauty of Pretty Simple Birthday Cakes lies in their understated charm. You don’t need fancy tools. Use an offset spatula or the back of a spoon to create pretty swirls on the top and sides of the frosting.
Add colorful sprinkles, fresh berries (strawberries, blueberries), or edible flowers. A simple written message with gel icing also looks lovely. Embrace the rustic, homemade look.
What if I don’t have buttermilk?
No problem at all! You can easily make your own buttermilk substitute. Simply add 1 tablespoon of white vinegar or lemon juice to a liquid measuring cup, then fill the rest of the cup with whole milk until it reaches the 1-cup line.
Let it sit for 5-10 minutes until it slightly curdles. This creates a similar acidity that reacts with the baking powder, keeping your Pretty Simple Birthday Cakes moist and tender.
Can I make cupcakes instead of a full cake with this recipe?
Yes, this recipe works wonderfully for cupcakes! Line two 12-cup muffin tins with paper liners. Fill each liner about two-thirds full with batter.
Bake for 18-22 minutes, or until a toothpick inserted into the center of a cupcake comes out clean. Adjust baking time as needed. These make adorable individual Pretty Simple Birthday Cakes for a crowd.
How do I prevent my cake from sticking to the pan?
Thoroughly grease your pans with butter or baking spray, then dust them with flour, tapping out any excess. For extra security, cut out parchment paper circles to fit the bottom of your pans and place them in after greasing. This combination almost guarantees a clean release for your Pretty Simple Birthday Cakes.
My frosting is too thin/thick, what should I do?
If your frosting is too thin, gradually add more powdered sugar, a tablespoon at a time, until it reaches your desired consistency. If it’s too thick, add more milk or heavy cream, one teaspoon at a time, until it becomes spreadable and fluffy. Adjusting consistency is very common when making the frosting for Pretty Simple Birthday Cakes.
A homemade birthday cake embodies a tradition of joy and celebration, marking special occasions with personal touches. These confections have a long and rich history, evolving into cherished centerpieces of birthday celebrations globally.
Nutrition Information (per serving)
Please note: This is an estimated nutritional breakdown based on common ingredient values and assumes 12 servings per cake. Actual values may vary depending on specific brands, exact measurements, and any substitutions or variations made to these Pretty Simple Birthday Cakes.
| Nutrient | Amount (estimated) |
|---|---|
| Calories | 580 kcal |
| Total Fat | 25g |
| Saturated Fat | 15g |
| Cholesterol | 100mg |
| Sodium | 250mg |
| Total Carbohydrates | 85g |
| Dietary Fiber | 1g |
| Total Sugars | 65g |
| Protein | 6g |

Pretty Simple Birthday Cakes
These 'Pretty Simple Birthday Cakes' offer a delightful and stress-free way to celebrate special occasions with a homemade touch. Designed for busy individuals, this recipe provides a moist, tender cake with a rich, creamy buttercream, focusing on ease, amazing flavor, and endless customization, making every celebration feel extra special and personal.
- Total Time: 2 hours 30 minutes
- Yield: 12 servings 1x
Ingredients
2 ½ cups All-purpose flour
1 ¾ cups Granulated sugar
1 tablespoon Baking powder
½ teaspoon Salt
½ cup Unsalted butter, softened
3 Large eggs, room temperature
1 cup Whole milk, room temperature
2 teaspoons Vanilla extract
1 cup Unsalted butter, softened
4 cups Powdered sugar
3–4 tablespoons Whole milk or heavy cream
1 teaspoon Vanilla extract
Pinch of salt
Optional: Food coloring for tinting
Optional: Sprinkles for decorating
Instructions
- Preheat oven to 350°F (175°C). Lightly grease and flour two 8-inch round cake pans. You can also line the bottoms with parchment paper for extra assurance
- In a large bowl, whisk together the flour, granulated sugar, baking powder, and salt until thoroughly combined
- In a separate large bowl, using an electric mixer, beat the softened butter until light and creamy, about 2 minutes. Add the eggs one at a time, beating well after each addition until fully incorporated. Scrape down the sides of the bowl as needed
- Gradually add the dry ingredients to the butter mixture, alternating with the milk, beginning and ending with the dry ingredients. Mix only until just combined; overmixing develops gluten and can make your cakes tough. Stir in the vanilla extract
- Divide the batter evenly between the two prepared cake pans. Smooth the tops with a spatula. Bake for 28-32 minutes, or until a wooden skewer or toothpick inserted into the center of the cakes comes out clea
- Once baked, remove the cakes from the oven and let them cool in their pans on a wire rack for about 10-15 minutes. Then, carefully invert the cakes onto the wire rack to cool completely. Ensure they are *completely* cool before frosting; otherwise, your frosting will melt
- While the cakes cool, prepare the frosting. In a large bowl, beat the softened butter with an electric mixer until light and fluffy, about 2-3 minutes. Gradually add the powdered sugar, one cup at a time, mixing on low speed until combined, then increase speed to medium and beat until smooth
- Pour in 3 tablespoons of milk or cream, vanilla extract, and a pinch of salt. Beat on medium-high speed until the frosting is light, fluffy, and spreadable, about 3-5 minutes. If the frosting is too thick, add more milk, a teaspoon at a time, until it reaches your desired consistency. If you want to color your frosting, add a few drops of food coloring now and mix until uniformly colored
- Once the cakes are completely cool, place one cake layer on your serving plate or cake stand. Spread about one-third of the frosting evenly over the top. Place the second cake layer on top and spread the remaining frosting over the top and sides of the cake. Use an offset spatula or the back of a spoon to create pretty swirls, embracing the 'pretty simple' aesthetic
- Finish your cakes with sprinkles, fresh berries, or a simple handwritten message. Now, slice and enjoy!
Notes
**Substitutions & Variations:** For a gluten-free version, swap all-purpose flour for a 1:1 gluten-free baking flour blend (ensure it contains xanthan gum). For dairy-free, replace butter with a dairy-free butter alternative and use plant-based milk. If you don't have buttermilk, add 1 tablespoon of white vinegar or lemon juice to a measuring cup, then fill to the 1-cup line with whole milk and let sit for 5-10 minutes.
**Flavor Twists:** Add lemon zest, almond extract, mini chocolate chips, or confetti sprinkles to the cake batter. For the frosting, try chocolate buttercream (melted chocolate), cream cheese frosting (reduce butter, add cream cheese), or peanut butter frosting (add creamy peanut butter).
**Cupcakes:** This recipe easily converts to cupcakes. Line cupcake tins, fill two-thirds full, and bake for 18-22 minutes.
**Pro Tips:** Use room temperature ingredients (butter, eggs, milk) for a lighter, fluffier cake. Measure flour correctly by spooning it into the cup and leveling. Do not overmix the batter to avoid a tough cake. Prepare pans thoroughly with grease and flour, or parchment paper. Cool cakes completely before frosting to prevent melting. Adjust frosting consistency with more powdered sugar (if too thin) or milk (if too thick). For a professional finish, apply a thin 'crumb coat' of frosting, chill, then apply the final layer. Embrace the homemade charm and don't strive for bakery perfection.
**Storage:** Unfrosted cake layers can be wrapped tightly and frozen for up to 2-3 months. A frosted cake with simple buttercream can stay at room temperature in an airtight container for 2-3 days, or refrigerated for 5-7 days (cover cut surfaces with plastic wrap). Fully frosted cakes can be frozen for up to 1 month (freeze uncovered until firm, then wrap). Always bring refrigerated cake to room temperature (30 minutes to 1 hour) before serving for best flavor and texture.
**Serving Suggestions:** Pair with fresh berries, a scoop of vanilla ice cream, homemade whipped cream, coffee or tea, sparkling cider or milk. Keep other party foods simple, and don't forget candles and confetti for the festive touch.
- Prep Time: 25 minutes
- Cook Time: 30 minutes
- Category: Dessert
- Method: Baking
- Cuisine: American
- Diet: None
Nutrition
- Serving Size: 1 slice
- Calories: 580 kcal
- Sugar: 65g
- Sodium: 250mg
- Fat: 25g
- Saturated Fat: 15g
- Unsaturated Fat: N/A
- Trans Fat: N/A
- Carbohydrates: 85g
- Fiber: 1g
- Protein: 6g
- Cholesterol: 100mg