Ocean Aesthetic Birthday Cake

When my eldest, Lily, turned seven, her fascination with mermaids was at an all-time high. She dreamed of a party filled with shimmering scales and the gentle lull of ocean waves. As a mom of three, I’ve learned that sometimes the most magical moments come from simple, homemade efforts, steeped in love.
That year, instead of buying a store-bought cake, I decided to tackle her dream cake myself. The vision was clear: an “Ocean Aesthetic Birthday Cake” that would transport everyone to an underwater paradise. It felt daunting at first, picturing all those intricate details, but I knew with a little planning and a lot of heart, I could create something truly special.
The moment she saw her cake, her eyes lit up brighter than any candle, and that pure joy? It’s why I bake. This isn’t just a recipe; it’s an invitation to create that same kind of wonder, a delicious, visually stunning Ocean Aesthetic Birthday Cake that celebrates life’s beautiful moments. It’s simpler than you might think, and the payoff in smiles is absolutely priceless.
Why You’ll Love This Ocean Aesthetic Birthday Cake Recipe
You are going to absolutely adore making this Ocean Aesthetic Birthday Cake, not just for its stunning appearance but also for the joy it brings. First and foremost, this recipe is a feast for the eyes. Imagine layers of soft, vanilla cake, swirled with shades of blue frosting that mimic the tranquil depths of the ocean.
It’s a showstopper, perfect for birthdays, baby showers, or any celebration where you want to make a lasting impression. You’ll create waves, shimmering “water,” and maybe even some edible “sand” right on your countertop.
Beyond its visual appeal, this Ocean Aesthetic Birthday Cake is incredibly delicious. We’re talking about a moist, tender cake base that pairs perfectly with a light, fluffy buttercream frosting. Every bite is a delightful balance of sweetness and rich vanilla flavor.
Plus, making it yourself means you control the ingredients, ensuring a wholesome treat for your loved ones. As a mom, I always appreciate knowing exactly what goes into our family’s food. This recipe also offers a wonderful opportunity for creativity.
You can customize the shades of blue, the type of sprinkles, and even add edible glitter for extra sparkle. It’s a chance to let your inner artist shine, even if you’re a beginner baker. The process is genuinely enjoyable, a mindful activity that results in an extraordinary dessert.
Ultimately, you’ll love this Ocean Aesthetic Birthday Cake because it’s more than just a cake; it’s a centerpiece, a conversation starter, and a tangible expression of love, crafted right in your own kitchen. It truly brings the magic of the sea to your special occasion.
Ingredients You’ll Need
Creating this beautiful Ocean Aesthetic Birthday Cake starts with high-quality ingredients. Gather everything before you begin baking. This ensures a smooth and stress-free process. Here’s what you’ll need for the moist vanilla cake, the dreamy buttercream frosting, and those enchanting ocean decorations.
| For the Cake: | For the Buttercream Frosting: | For the Ocean Decorations: |
|---|---|---|
| 2 ½ cups all-purpose flour | 1 cup (2 sticks) unsalted butter, softened | Blue gel food coloring (various shades like sky blue, royal blue) |
| 1 ½ cups granulated sugar | 4-5 cups powdered sugar, sifted | Ocean-themed sprinkles (optional) |
| 1 tbsp baking powder | ¼ cup whole milk or heavy cream | Edible glitter or luster dust (silver/blue) |
| ½ tsp salt | 1 tsp pure vanilla extract | White chocolate (for shells/coral, optional) |
| ¾ cup (1 ½ sticks) unsalted butter, softened | Pinch of salt | Graham crackers or Nilla wafers, crushed (for “sand”) |
| 3 large eggs, at room temperature | ||
| 1 cup whole milk, at room temperature | ||
| 2 tsp pure vanilla extract |
Substitutions & Variations
This Ocean Aesthetic Birthday Cake is wonderfully versatile. Don’t hesitate to make it your own! You can easily adapt ingredients and decorations to suit your preferences or dietary needs.
For the cake base, if vanilla isn’t your favorite, consider a lemon cake for a zesty, fresh ocean feel. Simply add the zest of two lemons to the batter and a tablespoon of fresh lemon juice. A coconut cake would also be delightful, enhancing the tropical beach vibe.
Replace half the milk with coconut milk and add a teaspoon of coconut extract. If you need a gluten-free option, a 1:1 gluten-free baking flour blend works beautifully; just ensure it contains xanthan gum. For a dairy-free cake, use unsweetened almond or oat milk and a good quality plant-based butter substitute. These simple swaps make the Ocean Aesthetic Birthday Cake accessible to more people.
When it comes to the buttercream, you have even more flexibility. Instead of traditional vanilla, try an almond extract for a subtle, sophisticated flavor. For a lighter frosting, a Swiss meringue buttercream offers a silky texture and less sweetness.
If you prefer a tangier taste, a cream cheese frosting with just a hint of blue coloring would be divine. For vegan frosting, substitute plant-based butter and a dairy-free milk alternative. The ocean aesthetic decorations are where you can really play.
Instead of just blue food coloring, incorporate a touch of green for a vibrant coral reef look. Use different piping tips to create various wave patterns. Crushed blue candy or rock candy can add texture and sparkle to your Ocean Aesthetic Birthday Cake.
You could even melt white chocolate, pipe it into shell or coral shapes on parchment paper, and let it harden for intricate edible adornments. For a natural touch, consider using spirulina powder for a subtle blue-green hue, though it won’t be as vibrant as gel food coloring. This flexibility ensures your Ocean Aesthetic Birthday Cake is truly unique and tailored to your celebration.
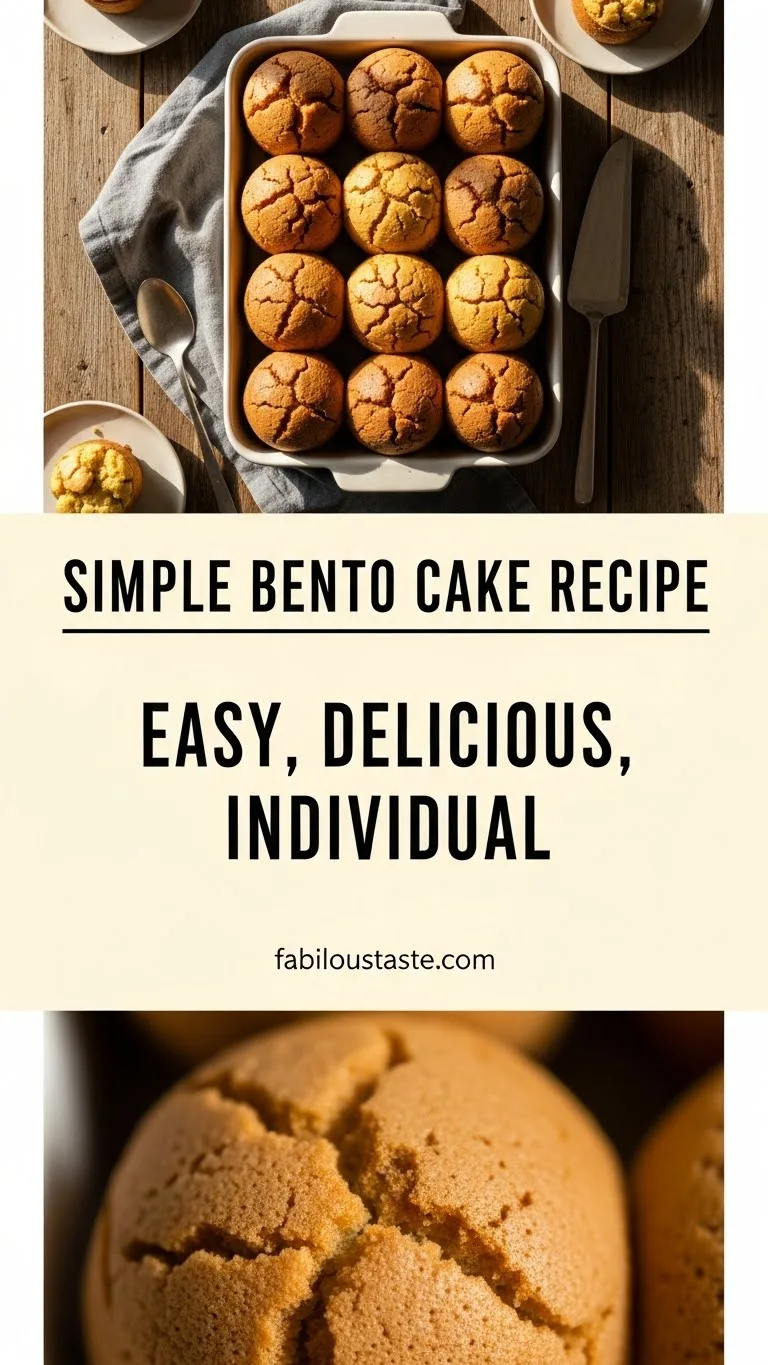
While this recipe provides a fantastic base for customizing your ocean-themed cake, remember that creative decoration is key to making any cake truly unique. For more intricate and personalized touches that can be applied to smaller, individual portions, explore some inspiring Bento Cake Decorating Ideas.
Step-by-Step Instructions
Note: This video is for demonstration purposes and may use a slightly different method.
Baking this gorgeous Ocean Aesthetic Birthday Cake is a process you’ll truly enjoy. Follow these steps carefully, and you’ll create a stunning centerpiece.
Step 1: Prepare Your Cake Pans. Preheat your oven to 350°F (175°C). Grease and flour three 8-inch round cake pans.
Line the bottoms with parchment paper for easy removal. This preparation is key for a successful Ocean Aesthetic Birthday Cake.
Step 2: Combine Dry Ingredients. In a large bowl, whisk together the all-purpose flour, granulated sugar, baking powder, and salt. Make sure everything is well combined.
Step 3: Cream Butter and Sugar. In a separate large bowl, using an electric mixer, beat the softened butter on medium speed until creamy, about 2 minutes. Gradually add the granulated sugar, continuing to beat until the mixture is light and fluffy, about 3-5 minutes. Scrape down the sides of the bowl as needed.
Step 4: Add Eggs. Add the large eggs one at a time, beating well after each addition. Ensure each egg is fully incorporated before adding the next. This helps create a rich texture for your Ocean Aesthetic Birthday Cake.
Step 5: Alternate Dry and Wet Ingredients. With the mixer on low speed, gradually add about one-third of the dry ingredient mixture to the butter mixture, mixing until just combined. Then, pour in half of the milk and mix until just incorporated.
Repeat this process, adding another third of the dry ingredients, then the remaining milk, and finally the last of the dry ingredients. Mix until just combined, being careful not to overmix. Overmixing can lead to a tough cake. Stir in the vanilla extract.
Step 6: Bake the Cake Layers. Divide the batter evenly among the prepared cake pans. Smooth the tops with a spatula. Bake for 25-30 minutes, or until a wooden skewer inserted into the center comes out clean.
Step 7: Cool the Cakes. Once baked, remove the cakes from the oven and let them cool in their pans on a wire rack for about 10-15 minutes. Then, invert the cakes onto the wire rack, remove the parchment paper, and let them cool completely before frosting. This is crucial for a stable Ocean Aesthetic Birthday Cake.
Step 8: Prepare the Buttercream Frosting. While the cakes cool, prepare your frosting. In a large bowl, using an electric mixer, beat the softened butter on medium speed until light and fluffy, about 3-5 minutes.
Gradually add the sifted powdered sugar, one cup at a time, beating well after each addition. Add the milk or heavy cream, vanilla extract, and a pinch of salt. Beat on medium-high speed for another 3-5 minutes until the frosting is light, fluffy, and smooth.
If it’s too thick, add more milk, a teaspoon at a time. If it’s too thin, add more powdered sugar.
Step 9: Color the Frosting. Divide the buttercream into several bowls. Leave one portion white.
In the remaining bowls, add varying amounts of blue gel food coloring to create different shades of blue (light blue, medium blue, dark blue). Stir well until the colors are uniform.
Step 10: Assemble and Crumb Coat. Once the cake layers are completely cool, use a serrated knife to level the tops of the cakes if they have domed. Place one cake layer on your serving plate or cake stand.
Spread a thin layer of white or light blue frosting over the top. Add the second cake layer, spreading another thin layer of frosting. Repeat with the third layer.
Apply a very thin layer of frosting all over the entire cake – this is your “crumb coat.” It traps any loose crumbs. Chill the cake in the refrigerator for 20-30 minutes to set the crumb coat. This step is essential for a beautiful, smooth final Ocean Aesthetic Birthday Cake.
Step 11: Final Frosting and Ocean Effect. Once the crumb coat is firm, apply your final layers of frosting. Using an offset spatula, begin applying dollops of your different shades of blue frosting and white frosting randomly around the cake.
Start with the lightest shades at the top and gradually blend into darker shades towards the bottom for an ombre effect, or simply apply them in a swirling pattern. Use a clean offset spatula or bench scraper to gently smooth and blend the colors around the sides of the cake, creating a wave-like or blended ocean appearance. You can create textured “waves” by gently pressing the tip of your spatula into the frosting and pulling it away.
Step 12: Decorate Your Ocean Aesthetic Birthday Cake. Now for the fun part! Sprinkle crushed graham crackers or Nilla wafers around the base of the cake to create “sand.” If using white chocolate shells or coral, gently place them on the cake.
Sprinkle ocean-themed sprinkles and edible glitter over the blue frosting for a shimmering water effect. Get creative! This is where your Ocean Aesthetic Birthday Cake truly comes to life.
Pro Tips for Success
Baking a beautiful Ocean Aesthetic Birthday Cake can be a breeze with a few expert tips. First, always ensure all your cold ingredients, especially butter and eggs, are at room temperature. This allows them to emulsify properly, creating a smoother, more uniform batter and a truly fluffy buttercream.
Take them out of the fridge at least an hour before you plan to start baking. Secondly, do not overmix your cake batter. Once you combine the wet and dry ingredients, mix only until just combined. Overmixing develops the gluten in the flour, resulting in a dense, tough cake, which is definitely not what we want for our light and airy Ocean Aesthetic Birthday Cake.
Thirdly, leveling your cake layers is crucial for a professional-looking Ocean Aesthetic Birthday Cake. After the cakes cool, use a serrated knife to carefully slice off any domed tops. This creates flat surfaces, ensuring your cake stacks evenly and doesn’t lean.
A cake leveling tool can make this even easier. Fourth, the crumb coat is your best friend. This thin layer of frosting traps any loose crumbs, preventing them from mixing into your final, beautiful outer layer of frosting.
Chill the cake thoroughly after the crumb coat to ensure it sets firmly. This makes applying the final layers of blue and white frosting much smoother and cleaner for your Ocean Aesthetic Birthday Cake.
When it comes to coloring, use gel food coloring instead of liquid. Gel colors are highly concentrated, meaning you need less to achieve vibrant, deep blue shades without thinning your frosting. A little goes a long way!
For creating the ocean aesthetic, play with different shades of blue and white. Don’t be afraid to mix and swirl them directly on the cake with your spatula to create organic, natural-looking waves and blends. Finally, patience is key during decoration.
Don’t rush the process. Step back, look at your creation, and add elements like crushed cookies for sand or edible glitter for sparkle gradually. Enjoy the artistic process of bringing your Ocean Aesthetic Birthday Cake to life; the love you put in will shine through!
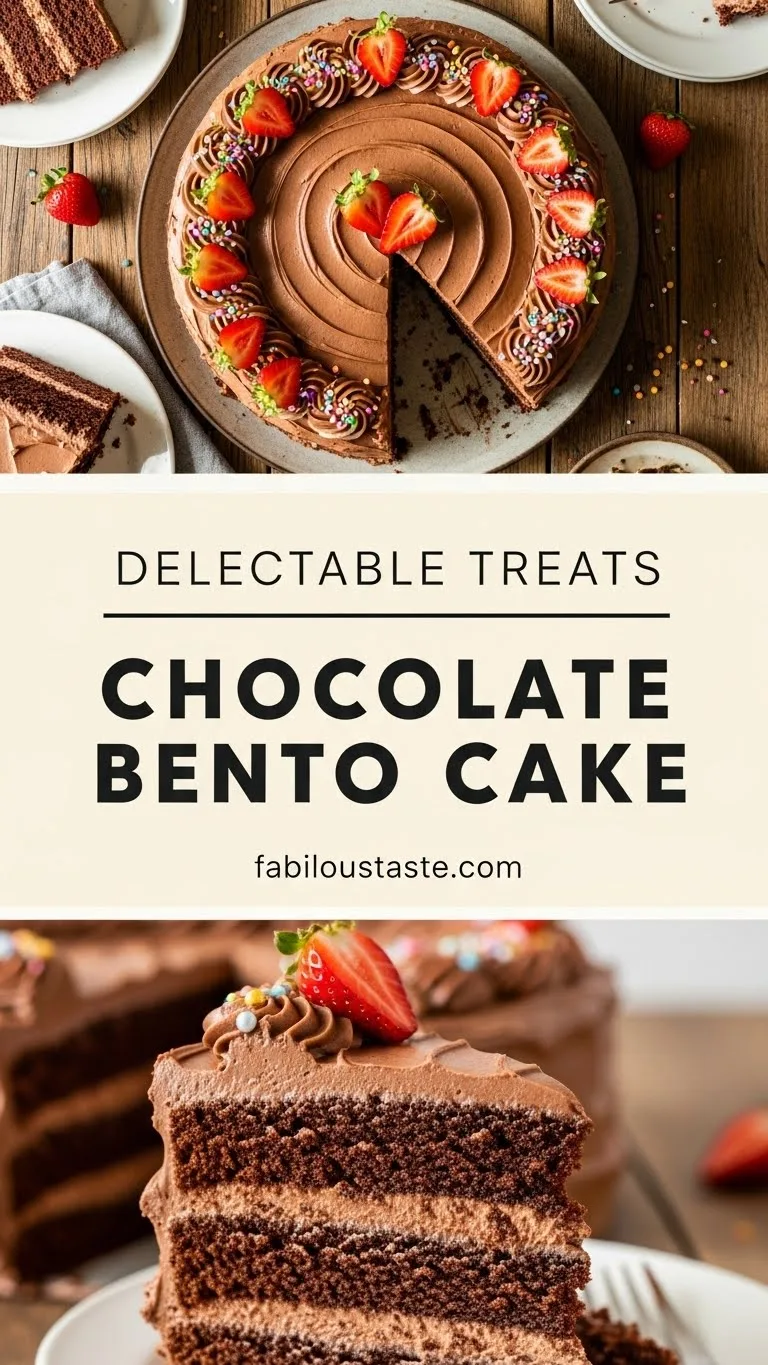
These essential baking tips are crucial for achieving the perfect texture and finish for any cake, ensuring your creations are both delicious and visually stunning. Applying similar attention to detail can transform even a modest dessert into a showstopper, much like you’d find when exploring Small Birthday Cake Aesthetic options.
Storage & Reheating Tips
Properly storing your magnificent Ocean Aesthetic Birthday Cake ensures it stays fresh and delicious for as long as possible. Once decorated, this cake is best enjoyed within 2-3 days for optimal flavor and texture.
If your kitchen is cool (below 70°F/21°C), you can store the cake at room temperature, loosely covered with a cake dome or plastic wrap, for up to 1 day. However, because it contains dairy in the frosting, for longer storage or in warmer conditions, refrigeration is best.
To store your Ocean Aesthetic Birthday Cake in the refrigerator, place it in an airtight cake carrier or carefully wrap it with plastic wrap to prevent it from drying out or absorbing other food odors. It will keep well in the fridge for up to 5 days.
Remember to bring the cake to room temperature for about 30-60 minutes before serving. This allows the frosting to soften slightly and the cake layers to become wonderfully tender again, enhancing the overall experience of your Ocean Aesthetic Birthday Cake.
If you want to prepare parts of your Ocean Aesthetic Birthday Cake ahead of time or save leftovers for much longer, freezing is an excellent option. You can freeze individual cake layers, tightly wrapped in plastic wrap and then foil, for up to 2-3 months. Thaw them in the refrigerator overnight before assembling.
A fully decorated Ocean Aesthetic Birthday Cake can also be frozen, though it requires a bit more care. First, freeze the unwrapped cake until the frosting is firm (about 1-2 hours). Then, tightly wrap the frozen cake in several layers of plastic wrap, followed by a layer of aluminum foil.
This prevents freezer burn. Store it in the freezer for up to 1 month. When you’re ready to enjoy it, thaw the wrapped cake in the refrigerator overnight, then unwrap it and let it come to room temperature on the counter before serving. This careful storage ensures your beautiful Ocean Aesthetic Birthday Cake remains a delightful treat.
What to Serve With This Recipe

An Ocean Aesthetic Birthday Cake is truly the star of any celebration, so you don’t need much else to make your event special. This cake is rich, flavorful, and visually stunning all on its own. However, if you’re looking to complement its vibrant presence and create a cohesive menu, consider some light and refreshing options.
A simple fruit platter with seasonal berries, sliced kiwi, and melon offers a wonderful contrast to the cake’s sweetness. The fresh fruit adds a touch of natural color and a healthy element to your spread, balancing the richness of the Ocean Aesthetic Birthday Cake.
For beverages, keep it light and celebratory. Sparkling lemonade or a light punch with a hint of blue or green food coloring (to match the ocean theme!) would be perfect. Plain sparkling water with a slice of lime or a sprig of mint also provides a refreshing option.
If you’re hosting an adult gathering, consider a light rosé wine or a blue curaçao cocktail to subtly echo the ocean theme. The most important thing is to let your Ocean Aesthetic Birthday Cake shine. It’s designed to be the grand finale, the showstopper that everyone gathers around.
The beauty of this Ocean Aesthetic Birthday Cake is that it serves as both dessert and decoration, making your party planning a little bit easier and a whole lot more impressive. Focus on celebrating the moment and enjoying this incredible, homemade creation.
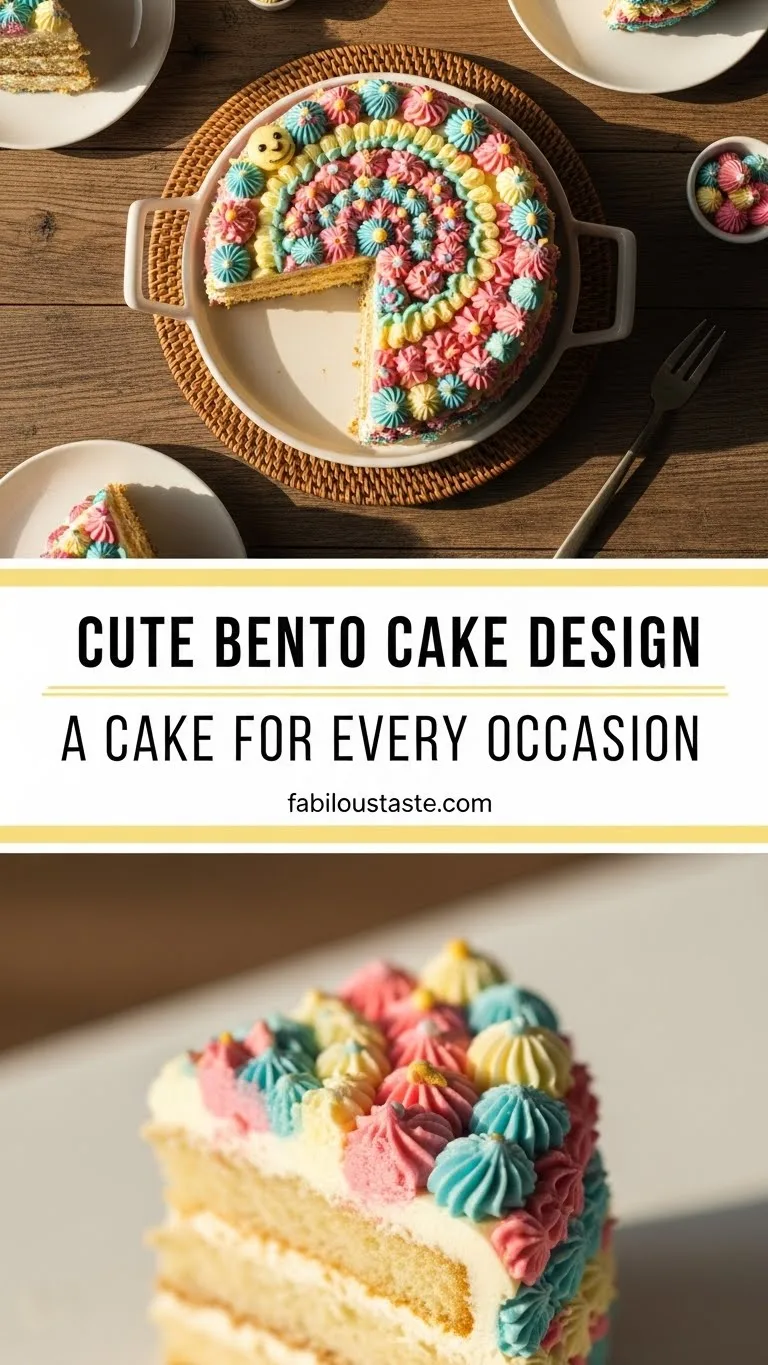
While this magnificent Ocean Aesthetic Birthday Cake serves as a grand centerpiece, sometimes a special occasion calls for individual, artfully crafted treats. For those looking to add a touch of personal elegance or offer delightful smaller portions alongside a main cake, discover a variety of charming Aesthetic Bento Cake Designs.
FAQs
Can I make this Ocean Aesthetic Birthday Cake ahead of time?
Absolutely! You can bake the cake layers up to two days in advance. Wrap them tightly in plastic wrap and store them at room temperature or in the refrigerator.
You can also make the buttercream frosting a day ahead and store it in an airtight container in the fridge; just re-whip it for a few minutes before frosting your Ocean Aesthetic Birthday Cake. Assembling and decorating the entire Ocean Aesthetic Birthday Cake can be done the day before your event, storing it in the refrigerator until about an hour before serving.
How do I get vibrant blue colors for my Ocean Aesthetic Birthday Cake?
The secret to vibrant colors for your Ocean Aesthetic Birthday Cake is using gel food coloring. Gel colors are highly concentrated and produce much richer, deeper hues than liquid food colorings without adding excess moisture to your frosting. Start with a small amount on a toothpick and gradually add more until you achieve your desired shades of blue. Remember, the color will deepen slightly as it sits.
What if my frosting isn’t smooth enough for my Ocean Aesthetic Birthday Cake?
Achieving smooth frosting for your Ocean Aesthetic Birthday Cake requires a few tricks. First, ensure your butter is perfectly softened, not melted. Second, sift your powdered sugar to remove any lumps.
If your frosting still feels too stiff, add milk or heavy cream a teaspoon at a time while beating until it reaches a spreadable consistency. If it’s too soft, add more sifted powdered sugar. For the final smooth finish, use an offset spatula dipped in hot water (and then wiped dry) to glide over the frosting for a super smooth surface.
Can I use a box cake mix for this Ocean Aesthetic Birthday Cake recipe?
Yes, you certainly can use a box cake mix to simplify the process for your Ocean Aesthetic Birthday Cake! Just follow the package directions for baking the cake layers. Then, proceed with making the homemade buttercream frosting and all the ocean-themed decorations as outlined in this recipe. Using a box mix is a fantastic shortcut if you’re short on time but still want to create a visually stunning Ocean Aesthetic Birthday Cake.
How do I transport an Ocean Aesthetic Birthday Cake safely?
Transporting your beautifully decorated Ocean Aesthetic Birthday Cake requires careful planning. Use a sturdy cake carrier that securely holds the cake in place. If possible, place a non-slip mat or a damp towel under the carrier in your car’s trunk or on a flat seat.
Drive carefully, avoiding sudden stops or sharp turns. For longer distances or warm weather, transport the cake in a cooler with ice packs to keep the frosting firm. Planning ahead ensures your Ocean Aesthetic Birthday Cake arrives perfectly.
What other occasions are suitable for an Ocean Aesthetic Birthday Cake?
While it’s perfect as an Ocean Aesthetic Birthday Cake, this design is also wonderful for many other celebrations! Consider it for baby showers (especially for a boy or gender-neutral theme), summer parties, graduation celebrations, retirement parties, or even just a fun weekend treat to brighten someone’s day. Its enchanting design makes any occasion feel special, transforming it into a memorable Ocean Aesthetic Birthday Cake or celebratory dessert.
The creation of an ocean aesthetic birthday cake often involves various cake decorating techniques to evoke the tranquility and beauty of marine environments. These cakes typically feature shades of blue and green, edible sand, seashells, and perhaps even fondant marine life to capture an underwater scene. Such artistic dessert designs are a testament to the evolving world of confectionary art, where cakes become edible canvases for imaginative themes.
Nutrition Information (per serving)
*(Estimated values based on 12 servings)*
| Nutrient | Amount |
|---|---|
| Calories | 480 kcal |
| Total Fat | 22g |
| Saturated Fat | 14g |
| Cholesterol | 85mg |
| Sodium | 240mg |
| Total Carbohydrates | 68g |
| Dietary Fiber | 1g |
| Total Sugars | 52g |
| Protein | 5g |

Ocean Aesthetic Birthday Cake
An enchanting Ocean Aesthetic Birthday Cake featuring moist vanilla cake layers, swirled blue buttercream frosting, and delightful ocean-themed decorations. This showstopper is perfect for birthdays, baby showers, or any celebration, bringing the magic of the sea to your special occasion with its stunning appearance and delicious flavor.
- Total Time: 240 mins
- Yield: 12 servings 1x
Ingredients
2 1/2 cups all-purpose flour
1 1/2 cups granulated sugar
1 tbsp baking powder
1/2 tsp salt
3/4 cup unsalted butter, softened
3 large eggs, at room temperature
1 cup whole milk, at room temperature
2 tsp pure vanilla extract
1 cup unsalted butter, softened
4–5 cups powdered sugar, sifted
1/4 cup whole milk or heavy cream
1 tsp pure vanilla extract
Pinch of salt
Blue gel food coloring
Ocean-themed sprinkles (optional)
Edible glitter or luster dust (silver/blue)
White chocolate (for shells/coral, optional)
Graham crackers or Nilla wafers, crushed (for “sand”)
Instructions
- Preheat your oven to 350°F (175°C). Grease and flour three 8-inch round cake pans. Line the bottoms with parchment paper for easy removal
- In a large bowl, whisk together the all-purpose flour, granulated sugar, baking powder, and salt. Make sure everything is well combined
- In a separate large bowl, using an electric mixer, beat the softened butter on medium speed until creamy, about 2 minutes. Gradually add the granulated sugar, continuing to beat until the mixture is light and fluffy, about 3-5 minutes. Scrape down the sides of the bowl as needed
- Add the large eggs one at a time, beating well after each addition. Ensure each egg is fully incorporated before adding the next
- With the mixer on low speed, gradually add about one-third of the dry ingredient mixture to the butter mixture, mixing until just combined. Then, pour in half of the milk and mix until just incorporated. Repeat this process, adding another third of the dry ingredients, then the remaining milk, and finally the last of the dry ingredients. Mix until just combined, being careful not to overmix. Stir in the vanilla extract
- Divide the batter evenly among the prepared cake pans. Smooth the tops with a spatula. Bake for 25-30 minutes, or until a wooden skewer inserted into the center comes out clea
- Once baked, remove the cakes from the oven and let them cool in their pans on a wire rack for about 10-15 minutes. Then, invert the cakes onto the wire rack, remove the parchment paper, and let them cool completely before frosting
- While the cakes cool, prepare your frosting. In a large bowl, using an electric mixer, beat the softened butter on medium speed until light and fluffy, about 3-5 minutes. Gradually add the sifted powdered sugar, one cup at a time, beating well after each addition. Add the milk or heavy cream, vanilla extract, and a pinch of salt. Beat on medium-high speed for another 3-5 minutes until the frosting is light, fluffy, and smooth. Adjust consistency with more milk or powdered sugar if needed
- Divide the buttercream into several bowls. Leave one portion white. In the remaining bowls, add varying amounts of blue gel food coloring to create different shades of blue (light blue, medium blue, dark blue). Stir well until the colors are uniform
- Once the cake layers are completely cool, use a serrated knife to level the tops of the cakes if they have domed. Place one cake layer on your serving plate or cake stand. Spread a thin layer of white or light blue frosting over the top. Add the second cake layer, spreading another thin layer of frosting. Repeat with the third layer. Apply a very thin layer of frosting all over the entire cake – this is your "crumb coat." Chill the cake in the refrigerator for 20-30 minutes to set the crumb coat
- Once the crumb coat is firm, apply your final layers of frosting. Using an offset spatula, begin applying dollops of your different shades of blue frosting and white frosting randomly around the cake. Start with the lightest shades at the top and gradually blend into darker shades towards the bottom for an ombre effect, or simply apply them in a swirling pattern. Use a clean offset spatula or bench scraper to gently smooth and blend the colors around the sides of the cake, creating a wave-like or blended ocean appearance. You can create textured "waves" by gently pressing the tip of your spatula into the frosting and pulling it away
- Sprinkle crushed graham crackers or Nilla wafers around the base of the cake to create "sand." If using white chocolate shells or coral, gently place them on the cake. Sprinkle ocean-themed sprinkles and edible glitter over the blue frosting for a shimmering water effect
Notes
Ensure all cold ingredients, especially butter and eggs, are at room temperature before baking for a smoother batter and fluffier buttercream.
Do not overmix your cake batter; mix only until just combined to prevent a dense, tough cake.
Leveling your cake layers after cooling with a serrated knife is crucial for a professional, even stack.
Apply a thin "crumb coat" of frosting and chill the cake for 20-30 minutes to trap loose crumbs before the final frosting layers.
Use gel food coloring for vibrant, deep blue shades without thinning your frosting.
Experiment with different shades of blue and white, swirling them directly on the cake to create organic, natural-looking waves.
Store the cake at room temperature (below 70°F/21°C) for up to 1 day, or refrigerated in an airtight carrier for up to 5 days.
Bring refrigerated cake to room temperature for 30-60 minutes before serving to soften frosting and enhance tenderness.
Cake layers can be frozen (tightly wrapped) for 2-3 months; a fully decorated cake can be frozen for up to 1 month after firming frosting.
- Prep Time: 75 mins
- Cook Time: 30 mins
- Category: Dessert
- Method: Baking
- Cuisine: American
Nutrition
- Serving Size: 1 slice
- Calories: 480 kcal
- Sugar: 52g
- Sodium: 240mg
- Fat: 22g
- Saturated Fat: 14g
- Carbohydrates: 68g
- Fiber: 1g
- Protein: 5g
- Cholesterol: 85mg