Ingredients
2 cups Strong Brewed Coffee or Espresso (cooled)
2 tablespoons Granulated Sugar (for coffee)
1/4 cup Marsala Wine or Coffee Liqueur (optional)
6 Large Egg Yolks
1/2 cup (100g) Granulated Sugar (for cream)
24 ounces (680g) Mascarpone Cheese (cold)
1 cup (240ml) Heavy Cream (cold)
1 teaspoon Vanilla Extract
Approx. 24-30 Gluten-Free Ladyfingers (2-3 packages, depending on size)
3–4 tablespoons Unsweetened Cocoa Powder (for dusting)
Instructions
- Prepare the Coffee Mixture: First, brew strong coffee or espresso and let it cool completely. Stir in 2 tablespoons of granulated sugar until dissolved. If using, mix in the Marsala wine or coffee liqueur. Set aside in a shallow dish for dipping
- Whisk the Egg Yolks and Sugar: In a large, heatproof bowl, combine the 6 egg yolks and 1/2 cup granulated sugar. Set the bowl over a saucepan of simmering water (make sure the bottom of the bowl doesn't touch the water). Whisk continuously with an electric mixer on medium-high speed for about 7-10 minutes, or until the mixture is thick, pale yellow, and has doubled in volume. It should form ribbons when the whisk is lifted. This process cooks the eggs and creates a stable base for your cream. Remove from heat and let cool slightly
- Prepare the Mascarpone Cream: In a separate large bowl, using an electric mixer, whip the cold heavy cream until soft peaks form. Be careful not to over-whip. In another bowl, gently whisk the cold mascarpone cheese until it’s smooth and slightly loosened. Do not overmix, or it will curdle
- Combine the Creams: Gently fold the slightly cooled egg yolk mixture into the mascarpone cheese until just combined. Then, carefully fold in the whipped heavy cream and vanilla extract until the mixture is smooth and homogenous. Be gentle to maintain the airy texture. This is your luscious gluten free tiramisu cream!
- Assemble the Tiramisu: Find an 8×8 inch or 9×13 inch baking dish. Quickly dip each gluten-free ladyfinger into the cooled coffee mixture, one at a time, for just 1-2 seconds per side. Don’t over-soak, as gluten-free ladyfingers can absorb liquid very quickly and become mushy
- Create the First Layer: Arrange a single layer of the dipped ladyfingers at the bottom of your baking dish, breaking them as needed to fit
- Add Cream and Repeat: Spread half of the mascarpone cream evenly over the ladyfinger layer. Dust lightly with unsweetened cocoa powder using a sieve
- Second Layer: Repeat with another layer of dipped gluten-free ladyfingers, followed by the remaining mascarpone cream
- Chill Thoroughly: Cover the dish tightly with plastic wrap and refrigerate for at least 6 hours, or preferably overnight. Chilling is crucial for the flavors to meld and the tiramisu to set properly. This ensures your gluten free tiramisu holds its shape beautifully
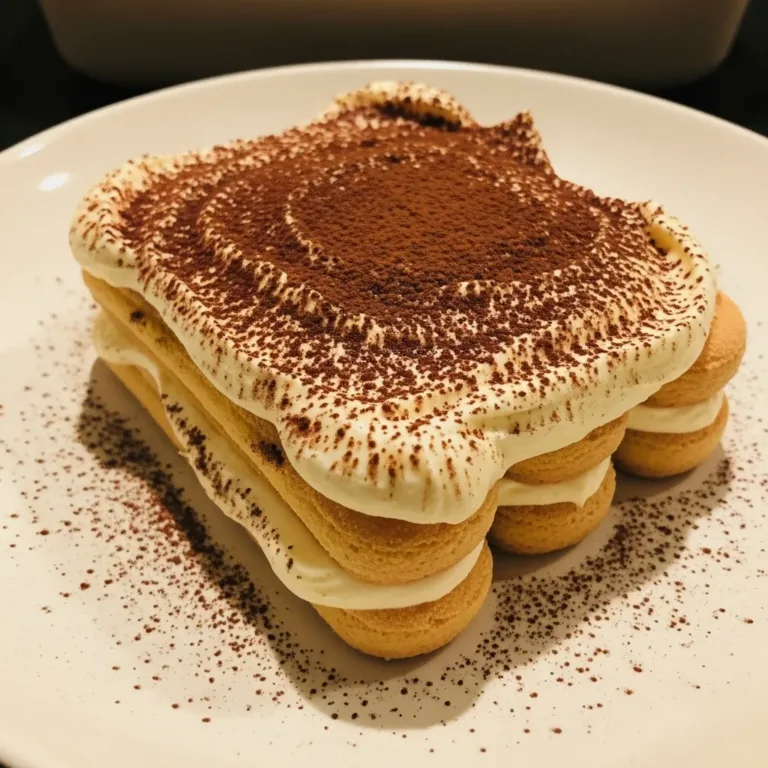
- Serve: Just before serving, dust the top generously with unsweetened cocoa powder. Slice and enjoy your homemade gluten free tiramisu!
Notes
Don't Over-Soak Ladyfingers: A quick dip (1-2 seconds per side) is all they need, especially for gluten-free varieties, to prevent sogginess.
Quality Ingredients Matter: Use high-quality mascarpone, strong freshly brewed coffee/espresso, and good cocoa powder for the best flavor and texture.
Chill, Chill, Chill: Patience is crucial. Allow at least 6 hours, ideally overnight, for chilling to deepen flavors and ensure the dessert sets firmly for clean slices.
Whip Mascarpone Gently: Whisk mascarpone briefly until smooth; over-whipping can cause it to curdle.
Use Cold Ingredients for Cream: Ensure heavy cream and mascarpone are very cold before whipping for proper consistency.
Dust Just Before Serving: For the freshest look and best flavor, dust with cocoa powder right before serving to prevent moisture absorption and clumping.
Cook Egg Yolks Properly: Whisk egg yolks and sugar over heat until thick and pale to pasteurize eggs and form a stable cream base.
- Prep Time: 30 mins
- Cook Time: 10 mins
- Category: Dessert
- Method: No-Bake
- Cuisine: Italian
- Diet: Gluten Free
Nutrition
- Serving Size: 1 slice
- Calories: 500 kcal
- Sugar: 25 g
- Sodium: 60 mg
- Fat: 40 g
- Saturated Fat: 22.5 g
- Unsaturated Fat: 17.5 g
- Trans Fat: 0 g
- Carbohydrates: 30 g
- Fiber: 1.5 g
- Protein: 6.5 g
- Cholesterol: 225 mg