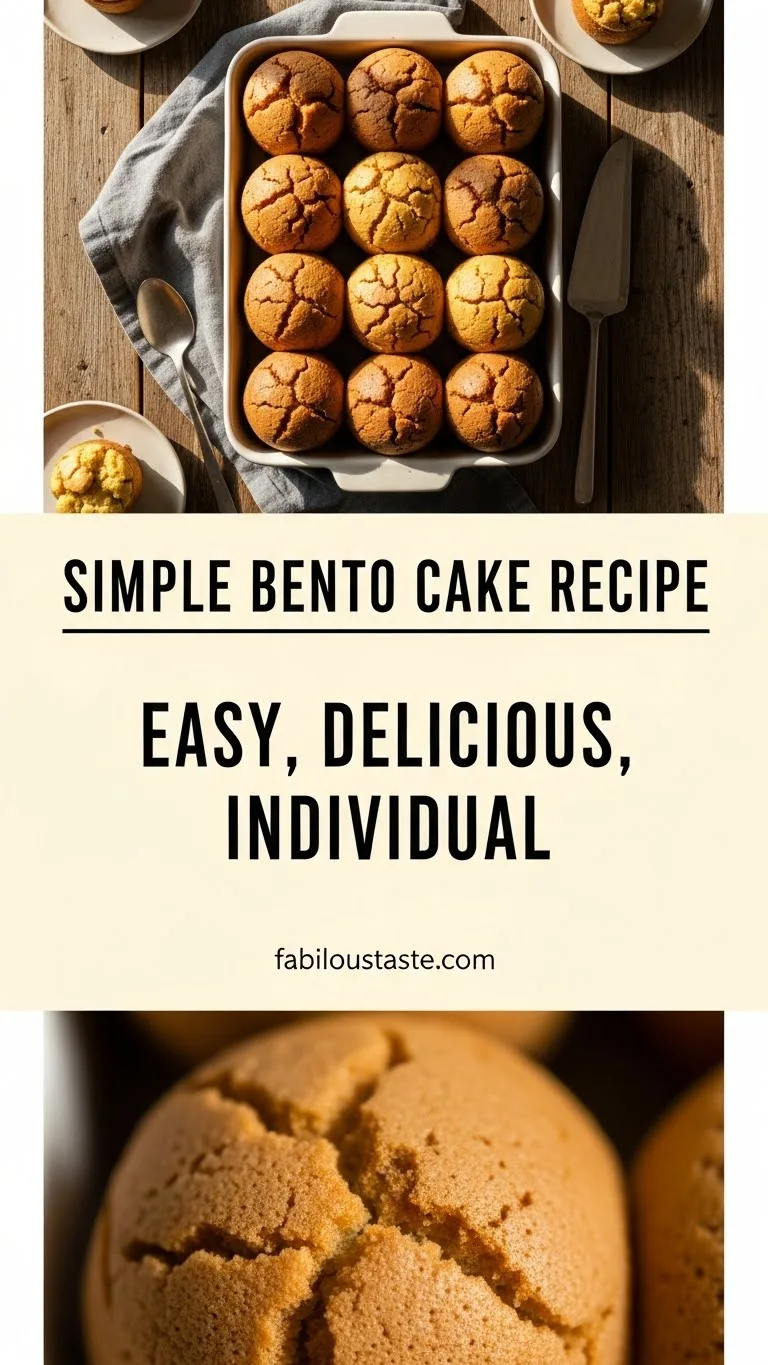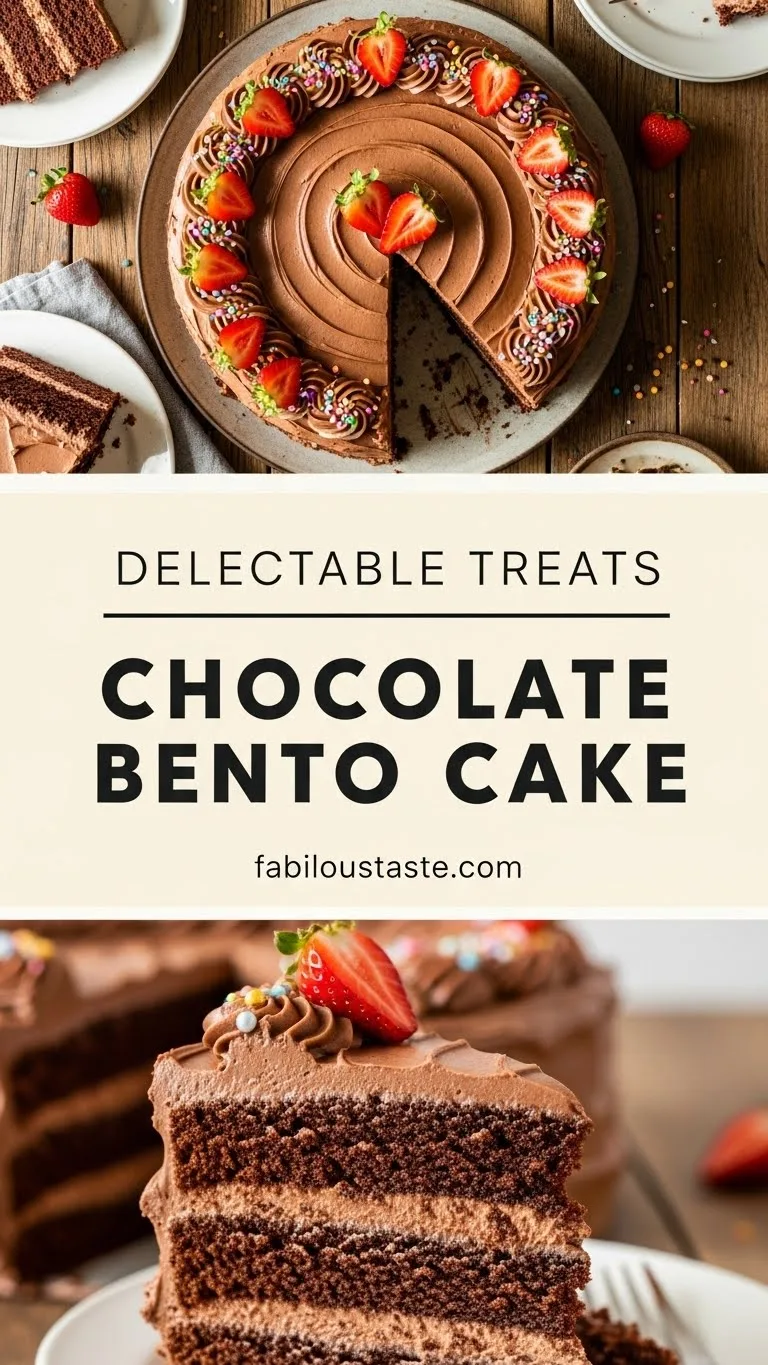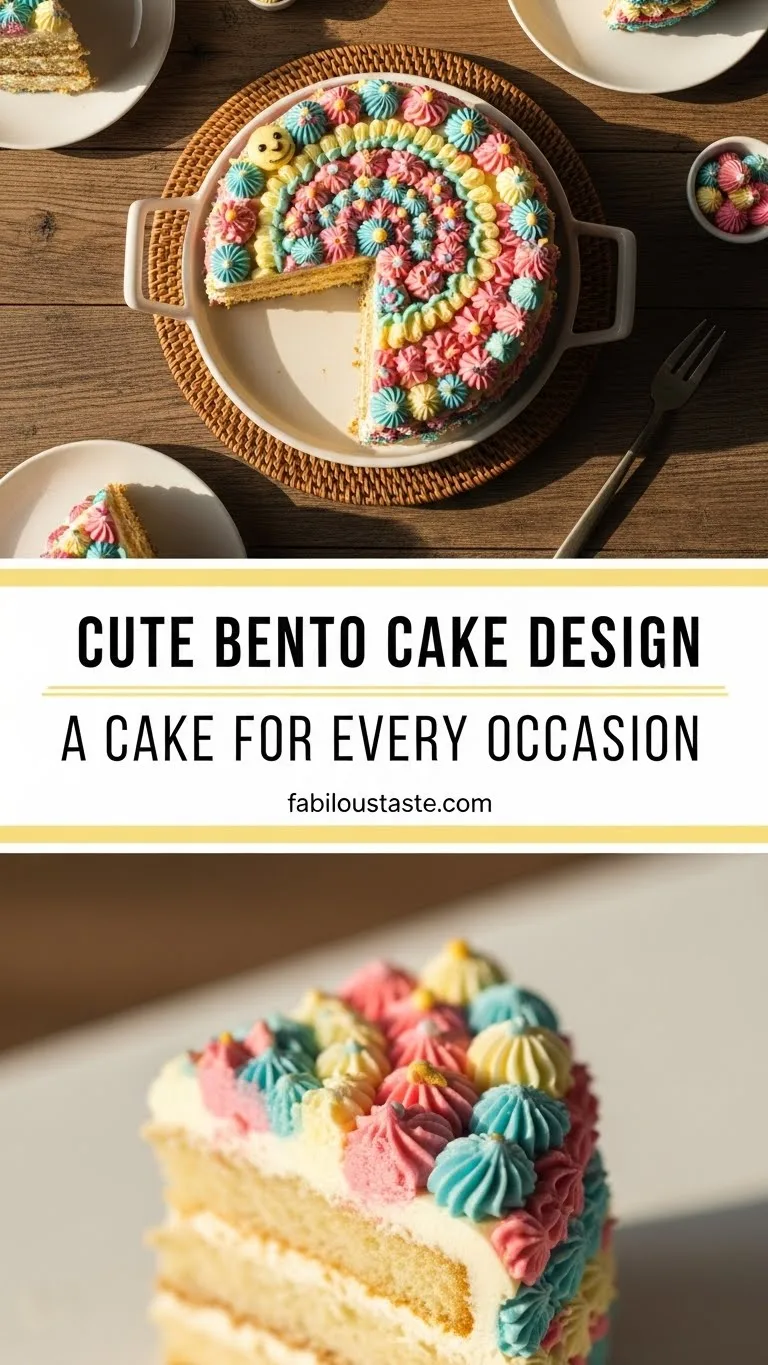
Adorable Cake Designs
Oh, the magic of a homemade cake! I remember one dreary Tuesday afternoon, my youngest, Leo, came home from preschool with a crumpled drawing of a rainbow monster. “Mommy,” he declared, “I need a rainbow monster cake for my birthday!” My heart just melted.
As a mom of three, I’ve learned that sometimes the simplest gestures make the biggest impact, and food, especially cake, truly is love. That day sparked my journey into creating what I now affectionately call Adorable Cake Designs. It wasn’t about perfection; it was about joy, about seeing those little faces light up with pure delight.
We didn’t have fancy tools, just our kitchen, some basic ingredients, and a whole lot of imagination. From that rainbow monster to sparkly unicorn cakes and even a “mud puddle” cake for my adventurous middle child, each creation has become a cherished memory. These Adorable Cake Designs aren’t just desserts; they’re canvases for connection, edible expressions of affection.
They prove that you don’t need a bakery background to whip up something truly special and memorable. You just need a dash of love, a sprinkle of creativity, and the belief that you can make something beautiful right in your own kitchen. Let’s make some memories together with these truly Adorable Cake Designs!
Why You’ll Love These Adorable Cake Designs
You’re busy, I get it. Between school runs, laundry piles, and a million other things, finding time for elaborate baking projects feels impossible. But this recipe for Adorable Cake Designs is different.
It’s designed with you in mind – the busy parent, the loving friend, the thoughtful host who wants to create something special without the stress. First, the simplicity of the base cake recipe ensures a moist, delicious foundation every single time. You won’t struggle with dry crumbs or uneven baking.
Next, the decorating ideas focus on ease and charm, transforming a simple cake into a showstopper with minimal fuss. We’re talking about techniques that even beginners can master, leading to genuinely Adorable Cake Designs without requiring hours of intricate work. You’ll love the feeling of accomplishment when you present a beautiful, homemade cake that looks professionally made but comes straight from your heart and hands.
Furthermore, this recipe is incredibly versatile. You can adapt flavors, colors, and themes to suit any occasion, making it your go-to for birthdays, holidays, or just a sweet surprise on a regular day. Imagine the smiles when your little one sees their dream cake, handcrafted by you!
This isn’t just about baking a cake; it’s about crafting memories and showing love in the sweetest way possible. You really can achieve stunning, Adorable Cake Designs with everyday ingredients and a bit of creativity. It’s truly a recipe that gives back in joy and connection.
Ingredients You’ll Need
Making delicious and Adorable Cake Designs starts with a few simple, wholesome ingredients you likely already have in your pantry. I always lean on quality basics because they truly make a difference in flavor and texture. For our versatile vanilla base, perfect for any decoration, gather these items.

| Ingredient | Quantity |
|---|---|
| All-purpose flour | 2 cups (240g) |
| Granulated sugar | 1 ½ cups (300g) |
| Baking powder | 1 tablespoon |
| Salt | ½ teaspoon |
| Unsalted butter, softened | ½ cup (113g) |
| Large eggs | 3 |
| Whole milk | 1 cup (240ml) |
| Vanilla extract | 2 teaspoons |
| For the Simple Buttercream: | |
| Unsalted butter, softened | 1 cup (226g) |
| Powdered sugar | 3-4 cups (360-480g) |
| Heavy cream or milk | 2-3 tablespoons |
| Vanilla extract | 1 teaspoon |
| Pinch of salt |
These ingredients create a lovely, sturdy cake that handles frosting beautifully, making your Adorable Cake Designs both delicious and visually appealing. Remember, fresh ingredients always yield the best results!
Substitutions & Variations
One of the beautiful things about baking for your family is the flexibility to make it your own. These Adorable Cake Designs can easily adapt to different tastes or dietary needs. You never have to feel limited.
* Flour Alternatives: If you need a gluten-free option, swap the all-purpose flour for a 1:1 gluten-free baking blend. Always ensure your blend contains xanthan gum for structure.
* Dairy-Free Delight: Use your favorite non-dairy milk (almond, soy, or oat work well) instead of whole milk.
For the butter, opt for a high-quality plant-based butter alternative in both the cake and frosting. Many great options exist today that perform just like dairy butter, helping you create equally Adorable Cake Designs.
* Sugar Swaps: Reduce the granulated sugar slightly if you prefer less sweetness, or use a natural sweetener like coconut sugar (it might give a slightly darker crumb).
For the frosting, a sugar-free powdered sweetener can work, though it may alter the texture slightly.
* Flavor Adventures:
* Lemon Zest: Add 2 tablespoons of fresh lemon zest to the cake batter for a bright, citrusy twist. A little lemon juice in the frosting also elevates the flavor.
* Almond Essence: Swap half of the vanilla extract for almond extract for a nutty aroma. This creates a sophisticated base for your Adorable Cake Designs.
* Chocolate Lovers: Replace ¼ cup of flour with ¼ cup of unsweetened cocoa powder for a delicious chocolate cake.
You can even add mini chocolate chips for extra indulgence!
* Spiced Goodness: Incorporate ½ teaspoon of ground cinnamon and ¼ teaspoon of nutmeg for a warm, comforting spice cake, especially lovely for fall Adorable Cake Designs.
* Frosting Fun:
* Cream Cheese Frosting: Substitute cream cheese for half of the butter in the buttercream for a tangy, rich frosting.
It pairs beautifully with many cake flavors.
* Whipped Cream: For a lighter option, use stabilized whipped cream as your frosting. Just make sure to serve it quickly as it’s less stable than buttercream.
* Ganache: A simple chocolate ganache poured over the top provides a sleek, elegant finish. Drip cakes are incredibly trendy and make for very Adorable Cake Designs.
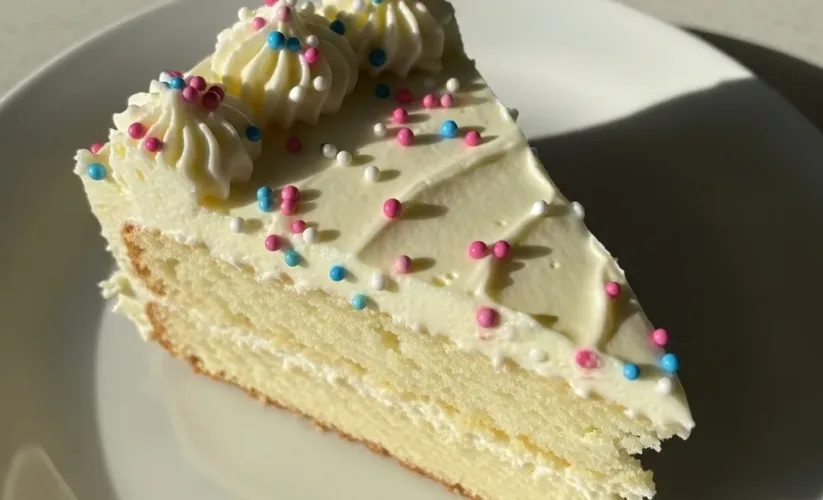
* Color Creations: Use gel food coloring to tint your buttercream any shade imaginable.
This is where the magic of Adorable Cake Designs truly comes alive! Think pastel pinks, vibrant blues, or even rainbow swirls.
* Add-ins: Fold in ½ cup of sprinkles, chocolate chips, or fresh berries (tossed in a little flour to prevent sinking) into the cake batter for added texture and flavor. These small additions elevate the cake and make for even more delightful, Adorable Cake Designs.
These simple tweaks mean you can customize your cake to perfectly suit any occasion or preference, always resulting in charming, Adorable Cake Designs.
Beyond dietary adjustments, the beauty of baking lies in personalizing every detail. For even more creative ways to tailor your sweet treats, explore unique Bento Cake Decorating Ideas that can perfectly complement any celebration.
Step-by-Step Instructions
Baking these Adorable Cake Designs is a joyful process, not a daunting task. Follow these steps for a perfect, tender cake, ready for your creative touch. Remember, baking is about love, not perfection!
Note: This video is for demonstration purposes and may use a slightly different method.
1. Prep Your Pans: Preheat your oven to 350°F (175°C). Grease and flour two 8-inch round cake pans, or line them with parchment paper circles.
This ensures your cake layers release cleanly, a crucial step for beautiful Adorable Cake Designs.
2. Combine Dry Ingredients: In a large bowl, whisk together the all-purpose flour, granulated sugar, baking powder, and salt.
Make sure everything is well combined; this prevents lumps in your batter.
3. Cream Butter and Eggs: In a separate, larger bowl (or the bowl of a stand mixer), cream the softened unsalted butter until light and fluffy.
Beat in the large eggs one at a time, mixing well after each addition. Scrape down the sides of the bowl as needed. This aeration creates a light crumb, essential for delicate Adorable Cake Designs.
4. Alternate Wet and Dry: Gradually add the dry ingredients to the wet ingredients, alternating with the whole milk. Begin and end with the dry ingredients (e.g., dry, wet, dry, wet, dry).
Mix on low speed until just combined. Overmixing develops gluten, which can make your cake tough. Finally, stir in the vanilla extract.
5. Fill and Bake: Divide the batter evenly between your prepared cake pans. Smooth the tops with a spatula.
Bake for 25-30 minutes, or until a wooden skewer inserted into the center of the cakes comes out clean.
6. Cool Completely: Remove the cakes from the oven and let them cool in the pans for about 10 minutes.
Then, invert them onto a wire rack to cool completely. This step is vital! Frosting a warm cake results in a messy, melted disaster, spoiling any chance of Adorable Cake Designs.
7. Make the Simple Buttercream: While the cakes cool, prepare your frosting. In a large bowl, beat the softened butter until creamy and light.
Gradually add the powdered sugar, one cup at a time, mixing on low speed until combined, then increasing to medium. Add 2 tablespoons of heavy cream or milk, vanilla extract, and a pinch of salt. Beat on medium-high for 3-5 minutes until the buttercream is light, fluffy, and spreadable.
Add more cream if too thick, or more powdered sugar if too thin. This is your canvas for all those lovely, Adorable Cake Designs.
8.
Assemble and Frost: Once the cakes are completely cool, place one layer on your serving plate or cake stand. Spread a generous layer of buttercream on top. Carefully place the second cake layer on top.
Apply a thin “crumb coat” of frosting all over the cake, sealing in any loose crumbs. Chill for 15-20 minutes. This crumb coat is key for smooth, professional-looking Adorable Cake Designs.
9. Final Frosting & Decorate: Apply the remaining buttercream to the top and sides of the cake. Use an offset spatula or bench scraper to smooth the frosting.
Now for the fun part – decorating! This is where your Adorable Cake Designs truly come to life. Use sprinkles, candies, fresh fruit, or simple piping techniques to add your personal touch. Let your imagination run wild!
Pro Tips for Success
Creating truly Adorable Cake Designs isn’t just about following a recipe; it’s about embracing a few clever tricks that make all the difference. As a mom who bakes a lot, I’ve picked up some invaluable tips that transform a good cake into a great one.

* Room Temperature Ingredients: This is non-negotiable! Ensure your butter, eggs, and milk are at room temperature. They emulsify better, creating a smoother, more uniform batter and a lighter, airier cake texture.
Cold ingredients resist blending, leading to a denser crumb. This foundational step guarantees the best base for your Adorable Cake Designs.
* Don’t Overmix: Once you add the flour, mix only until just combined.
Overmixing develops gluten, resulting in a tough, chewy cake. We want tender and moist! A light hand ensures your cake stays soft, perfect for those delicate Adorable Cake Designs.
* Level Cake Layers: For an even, professional-looking cake, level your cake layers if they domed during baking. A serrated knife or a cake leveler works perfectly. This creates a flat surface for stacking, making your Adorable Cake Designs much easier to frost smoothly.
* The Crumb Coat is Your Best Friend: Don’t skip this step! A thin layer of frosting applied to the entire cake, then chilled, locks in all the crumbs. This ensures your final layer of frosting is perfectly smooth and crumb-free, giving your Adorable Cake Designs a clean finish.
* Chill Between Steps: Chilling the cake after the crumb coat, and even after significant decorating, helps set the frosting. This makes it easier to handle and prevents smudges, keeping your Adorable Cake Designs pristine.
* Piping Bags for Precision: Even for simple decorations, piping bags (disposable ones are fantastic) offer more control than a spatula.
You can snip a corner for a simple dot or line, or use a basic star tip for a festive border. This makes even novice decorators create more Adorable Cake Designs.
* Natural Decorating: You don’t need fancy tools.
Fresh berries, edible flowers, chocolate shavings, or even a light dusting of powdered sugar can create stunning and Adorable Cake Designs. Kids love helping sprinkle on their favorite candies!
* Patience with Frosting: Take your time.
Apply frosting in layers, smoothing as you go. A warm offset spatula (dipped in hot water and wiped dry) can help create a super smooth finish. This attention to detail elevates the beauty of your Adorable Cake Designs.
* Taste Test Your Frosting: Always taste your buttercream! Adjust sweetness or add more vanilla as needed. The frosting is a big part of the overall flavor, so make sure it’s delicious.
Mastering these fundamental baking techniques sets the stage for stunning results. Once your base is perfect, you can elevate your presentation further by delving into inspiring Aesthetic Bento Cake Designs that will impress with their visual appeal.
Storage & Reheating Tips
You’ve poured your heart into creating these beautiful Adorable Cake Designs, and you want them to stay fresh and delicious! Proper storage is key to enjoying your cake for days.
* Room Temperature (Uncut): An unfrosted or lightly frosted (with buttercream) cake can sit at cool room temperature (below 70°F/21°C) for up to 2 days, especially if covered with a cake dome or inverted bowl to protect it from air. This keeps the cake moist and ready for those last-minute touches for your Adorable Cake Designs.
* Refrigeration (Frosted & Cut): For frosted cakes or cut slices, refrigeration is your best bet.
Place the cake in an airtight container or cover it loosely with plastic wrap to prevent it from drying out or absorbing refrigerator odors. It will stay fresh for 3-5 days. Buttercream-frosted cakes often taste best at room temperature, so let individual slices sit out for 15-20 minutes before serving.
This brings out the flavors and softens the frosting of your Adorable Cake Designs.
* Freezing Cake Layers (Unfrosted): This is my favorite mom-hack! Bake your cake layers, let them cool completely, then wrap each layer tightly in plastic wrap, then again in aluminum foil.
Freeze for up to 2-3 months. Thaw frozen layers in the refrigerator overnight, or at room temperature for a few hours, before unwrapping and frosting. This makes preparing elaborate Adorable Cake Designs much easier on busy days.
* Freezing Frosted Cake (Whole or Slices): For a whole frosted cake, freeze it uncovered until the frosting is firm (about 1-2 hours). Then, wrap it tightly in plastic wrap and then foil. For slices, place them on a baking sheet to freeze individually, then wrap each slice and store in a freezer bag.
Thaw overnight in the refrigerator. This preserves the effort you put into those lovely Adorable Cake Designs.
* Reheating (Cake Layers only): You generally don’t “reheat” a finished cake.
However, if you’ve frozen unfrosted cake layers, they will come to room temperature perfectly without needing reheating. Just thaw and then frost as usual.
These simple storage tips ensure your delicious and Adorable Cake Designs remain a treat for everyone!
What to Serve With This Recipe
Your beautifully crafted and Adorable Cake Designs deserve to be the star of the show, but a few thoughtful accompaniments can elevate the experience even further. Think about balance and contrast to complement the cake’s sweetness and texture.

* Fresh Berries: A vibrant medley of fresh strawberries, raspberries, blueberries, or blackberries provides a wonderful tart counterpoint to the cake’s sweetness. Arrange them artfully around the slices for an extra touch of elegance, enhancing the visual appeal of your Adorable Cake Designs.
* A Scoop of Ice Cream: A classic pairing!
Vanilla bean ice cream is always a winner, but a scoop of strawberry or even a creamy mint chocolate chip can add a delightful textural and flavor contrast. It’s especially welcome with a warm slice of cake, though your Adorable Cake Designs are usually served at room temperature.
* Whipped Cream: A dollop of homemade whipped cream, lightly sweetened and flavored with a touch of vanilla, offers a cloud-like texture that pairs beautifully with any cake.
It feels light and luxurious alongside your Adorable Cake Designs.
* Hot Coffee or Tea: For adults, a fresh brew provides a comforting and sophisticated pairing. A strong black coffee or a delicate herbal tea can cut through the richness of the cake, making each bite even more enjoyable.
It makes any celebration featuring Adorable Cake Designs feel more grown-up.
* Sparkling Cider or Milk: For the younger crowd (or anyone who prefers non-alcoholic options), sparkling apple cider adds a festive fizz. A simple glass of cold milk is also a timeless and perfect partner for a slice of cake.
It’s a classic pairing for enjoying those wonderful Adorable Cake Designs.
* Fruit Coulis: A simple fruit coulis made from pureed berries or other fruits, lightly sweetened, can be drizzled artfully around the plate. It adds a gourmet touch and extra burst of flavor, making your Adorable Cake Designs feel extra special.
* Crunchy Elements: Consider a sprinkle of toasted nuts (like almonds or pecans), a few chocolate curls, or even some crushed cookies for added texture. These little surprises provide another layer of enjoyment alongside your soft, moist Adorable Cake Designs.
These additions turn a simple cake serving into a complete dessert experience, making your Adorable Cake Designs shine even brighter.
While fresh fruit is a classic pairing, sometimes you might want another delightful treat to share alongside your cake. Consider adding a rich, chocolatey option like our Festive Pumpkin Patch Brownies Recipe for a complementary burst of flavor.
FAQs
How can I make my cake layers perfectly level without special tools?
Achieving level cake layers is simpler than you think! After your cakes cool, use a long, serrated knife (like a bread knife). Place the cake on a flat surface and carefully slice across the top to remove the dome, rotating the cake as you cut.
You can also use a few toothpicks inserted around the cake at your desired height as a guide. This foundational step truly helps in creating smooth, Adorable Cake Designs.
Can I make the cake batter ahead of time?
I generally advise against making and storing cake batter for extended periods. The leavening agents (baking powder) activate once they come into contact with wet ingredients. If you let the batter sit too long, you risk losing the aeration and lift, resulting in a dense cake.
It’s best to prepare the batter and bake immediately for the lightest, fluffiest results and the best foundation for your Adorable Cake Designs. However, you can prep dry ingredients ahead of time.
What’s the best way to color my buttercream for vibrant Adorable Cake Designs?
For vibrant colors, always use gel food coloring. Liquid food coloring can thin out your buttercream and often doesn’t achieve intense hues without using a lot, which can impart an off-flavor. Add gel coloring a tiny bit at a time, mixing well between additions, until you reach your desired shade.
Remember that colors tend to deepen slightly as they sit. This is crucial for truly eye-catching, Adorable Cake Designs.
My frosting seems too stiff/too runny. How do I fix it?
Don’t worry, this happens to everyone! If your buttercream is too stiff, add heavy cream or milk, half a teaspoon at a time, beating well after each addition until it reaches the desired consistency. If it’s too runny, add powdered sugar, a tablespoon at a time, again beating well after each addition, until it thickens. Consistency is key for smooth application and beautiful, Adorable Cake Designs.
Adorable cake designs transform simple baked goods into edible works of art, often reflecting themes of celebration, whimsy, or personal affection. These creative confections bring joy to recipients and highlight the artistry involved in cake decorating.
Nutrition Information (per serving)
Here’s an estimated nutritional breakdown for one slice of our delicious vanilla cake with simple buttercream, based on 12 servings. This is an approximation and will vary based on specific brands and ingredient choices, especially for those making substitutions for their Adorable Cake Designs.
| Nutrient | Amount |
|---|---|
| Calories | 450 kcal |
| Total Fat | 22g |
| Saturated Fat | 13g |
| Cholesterol | 85mg |
| Sodium | 250mg |
| Total Carbohydrates | 60g |
| Dietary Fiber | 1g |
| Total Sugars | 45g |
| Protein | 5g |

Adorable Cake Designs
This recipe for Adorable Cake Designs is designed for busy individuals who want to create a special, homemade cake without stress. It features a simple base cake recipe for a moist, delicious foundation and focuses on easy yet charming decorating ideas. The versatile recipe allows for adaptation in flavors, colors, and themes for any occasion, fostering joy and connection through handcrafted desserts.
- Total Time: 3 hours 15 mins
- Yield: 12 servings 1x
Ingredients
2 cups (240g) All-purpose flour
1 ½ cups (300g) Granulated sugar
1 tablespoon Baking powder
½ teaspoon Salt
½ cup (113g) Unsalted butter, softened
3 Large eggs
1 cup (240ml) Whole milk
2 teaspoons Vanilla extract
1 cup (226g) Unsalted butter, softened
3–4 cups (360-480g) Powdered sugar
2–3 tablespoons Heavy cream or milk
1 teaspoon Vanilla extract
Pinch Salt
Instructions
- Preheat your oven to 350°F (175°C). Grease and flour two 8-inch round cake pans, or line them with parchment paper circles
- In a large bowl, whisk together the all-purpose flour, granulated sugar, baking powder, and salt. Make sure everything is well combined; this prevents lumps in your batter
- In a separate, larger bowl (or the bowl of a stand mixer), cream the softened unsalted butter until light and fluffy. Beat in the large eggs one at a time, mixing well after each addition. Scrape down the sides of the bowl as needed
- Gradually add the dry ingredients to the wet ingredients, alternating with the whole milk. Begin and end with the dry ingredients (e.g., dry, wet, dry, wet, dry). Mix on low speed until just combined. Overmixing develops gluten, which can make your cake tough. Finally, stir in the vanilla extract
- Divide the batter evenly between your prepared cake pans. Smooth the tops with a spatula. Bake for 25-30 minutes, or until a wooden skewer inserted into the center of the cakes comes out clea
- Remove the cakes from the oven and let them cool in the pans for about 10 minutes. Then, invert them onto a wire rack to cool completely
- While the cakes cool, prepare your frosting. In a large bowl, beat the softened butter until creamy and light. Gradually add the powdered sugar, one cup at a time, mixing on low speed until combined, then increasing to medium. Add 2 tablespoons of heavy cream or milk, vanilla extract, and a pinch of salt. Beat on medium-high for 3-5 minutes until the buttercream is light, fluffy, and spreadable. Add more cream if too thick, or more powdered sugar if too thi
- Once the cakes are completely cool, place one layer on your serving plate or cake stand. Spread a generous layer of buttercream on top. Carefully place the second cake layer on top. Apply a thin "crumb coat" of frosting all over the cake, sealing in any loose crumbs. Chill for 15-20 minutes
- Apply the remaining buttercream to the top and sides of the cake. Use an offset spatula or bench scraper to smooth the frosting. Now for the fun part – decorating! Use sprinkles, candies, fresh fruit, or simple piping techniques to add your personal touch. Let your imagination run wild!
Notes
Ensure butter, eggs, and milk are at room temperature for a smoother batter and lighter cake texture.
Do not overmix the batter once flour is added to prevent a tough, chewy cake.
Level cake layers with a serrated knife or cake leveler if they dome during baking for an even, professional-looking cake.
The crumb coat (a thin layer of frosting applied and chilled) is essential for a smooth, crumb-free final frosting layer.
Chill the cake after the crumb coat and after significant decorating to help set the frosting and prevent smudges.
Use gel food coloring for vibrant buttercream colors, as liquid food coloring can thin the frosting.
Adjust buttercream consistency: add heavy cream (half a teaspoon at a time) if too stiff, or powdered sugar (a tablespoon at a time) if too runny.
Always taste your buttercream and adjust sweetness or vanilla as needed.
- Prep Time: 25 mins
- Cook Time: 28 mins
- Category: Dessert
- Method: Baking
- Cuisine: American
- Diet: Vegetarian
Nutrition
- Serving Size: 1 slice
- Calories: 450 kcal
- Sugar: 45g
- Sodium: 250mg
- Fat: 22g
- Saturated Fat: 13g
- Carbohydrates: 60g
- Fiber: 1g
- Protein: 5g
- Cholesterol: 85mg